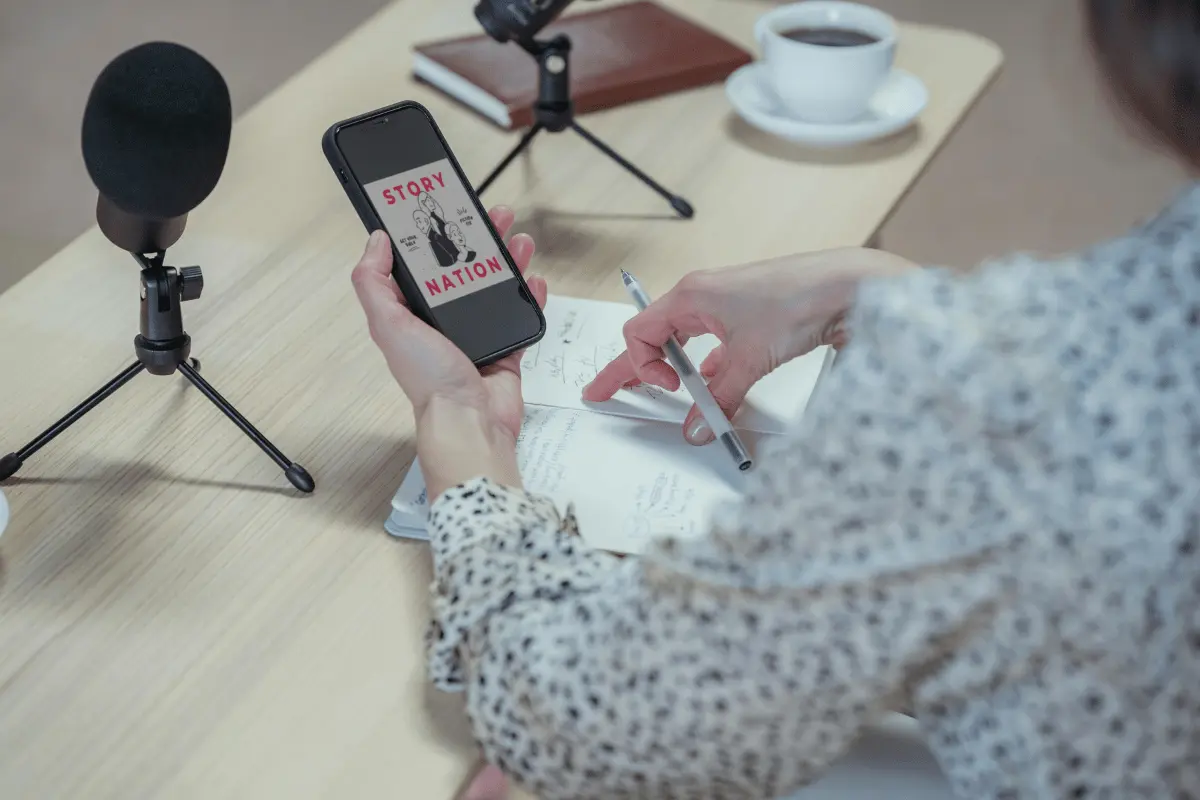

Remote recording is the new normal. You can now record your guests and co-hosts in different locations. However, with all the technicalities, mastering remote podcasting can be overwhelming.
But it’s simpler than it seems.
This guide shares how to record a podcast remotely. We’ll show you the step-by-step instructions you should take, the tools you require, and answer some common questions.
TL;DR – How to Record a Podcast Remotely
In a hurry?
These 5 steps will have you recording remote podcasts in no time:
- Plan your remote recording setup
- Prep your recording gear
- Hit record
- Post-production of the remote podcasts
- Upload and publish your podcasts
We’ll explore each of these steps more fully later in the blog. Before we begin, here’s a quick heads-up.
If you want to create professional and studio-quality private podcasts in minutes, consider Hello Audio.
Our platform is designed to allow you to create and manage private content. It provides key features like automated audio transcriptions, triggered automation, and real-time analytics for each episode.
Don’t just take our word for it; try our free 7-day free trial today.
What is Remote Podcast Recording?
Remote podcast recording is the recording of episodes in which the guests and hosts are not in the same physical location.
You can speak to guests without limiting yourself to in-person recording. Besides, you can eliminate the need for physical travel and the associated financial expenses.
Quick Difference in Remote Podcasting:
- When recording a video, you capture video and audio over the internet. The quality of your podcast depends on the quality of the internet.
- On the other hand, local recording is capturing audio or video directly on your device, whether it’s your computer or mobile phone. You can produce high-quality recordings without dependence on the internet.
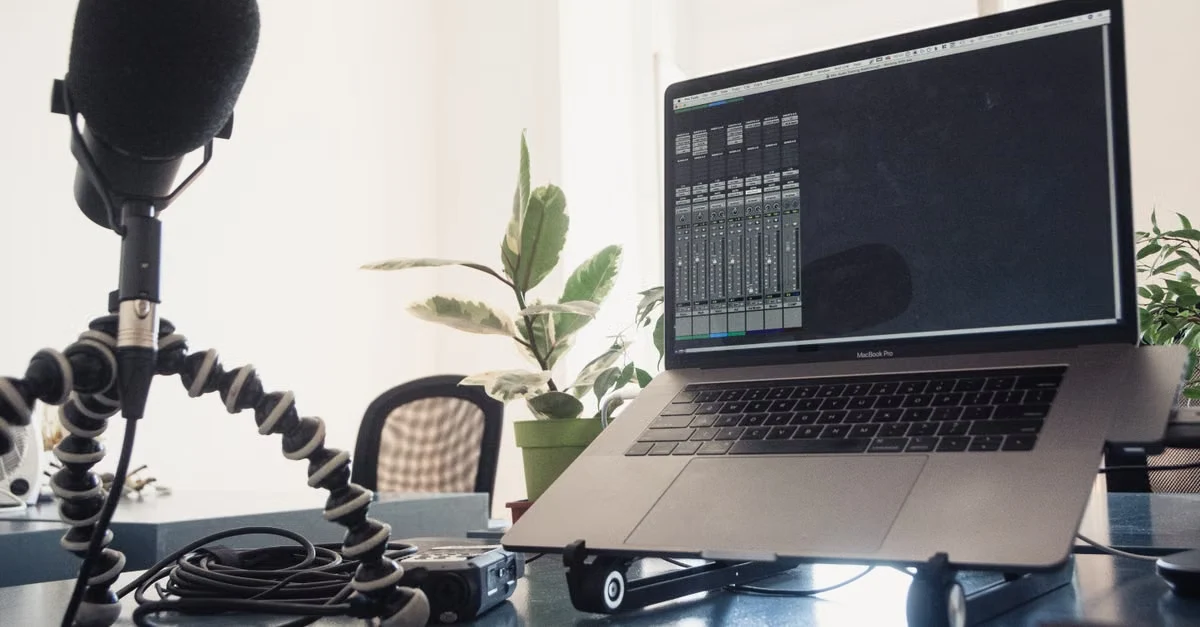
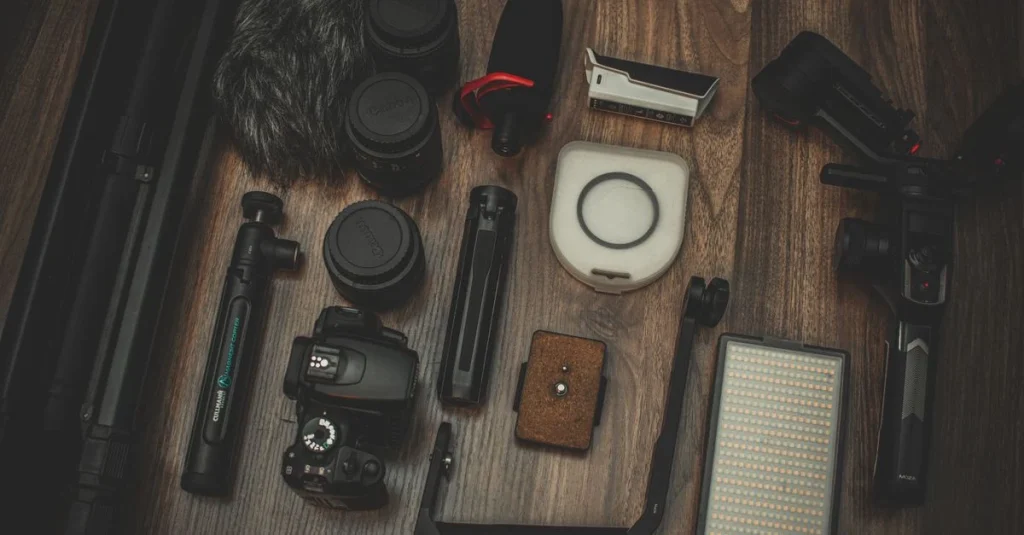
Essential Equipment for Remote Podcast Recording
With a variety of podcast equipment, what do you choose for your remote podcast?
Here’s a breakdown of the ultimate checklist to get you started on the right foot:
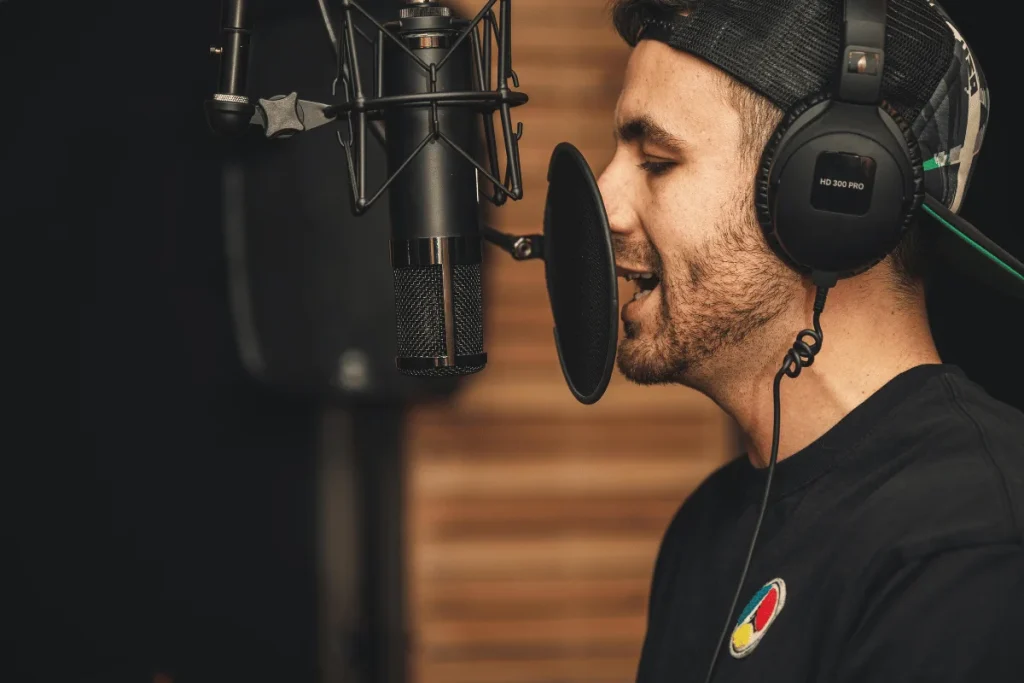
Headphones
Headphones are a must-have. They help you pick audio fluctuations, monitor your voice, and adjust audio levels while recording. You want a pair that offers comfort for long hours of recording and blocks out external noises.
Sony MDR7506/1 and Audio-Technica ATH-M50x are excellent headphone choices for podcasting.
External Mic(s)
Although your phone or laptop has a built-in microphone, you’ll need a good external mic. Among the external recording gear, the mic is crucial for delivering clear, natural audio.
Consider an affordable, plug-and-play USB mic like the Rode NT-USB or a Samson Q2U. The Shure MV7+ is a professional microphone that can reject room noise, features a digital pop filter, and provides easy plug-and-play recording.
Pop Filter
A pop filter is another tool you shouldn’t miss to eliminate plosive sounds like ‘p’ and ‘b’. It makes editing easy and protects your mic from saliva and moisture build-up.
An example of a pop filter is the Shure PS-6 Popper Stopper.
Podcast Mixer
A podcast mixer helps adjust audio quality while you record. Consider the number of mic inputs and connectivity with other podcast gear.
Remember, a mixer is expensive and requires extensive skills. As a solo creator, you can skip it and choose software such as Audacity, which offers podcast mixing and other features.
With that in mind, here’s one example of a podcast mixer, RØDECaster Pro II.
Microphone Stand or Boom Arm
Although it’s not strictly required, you’ll need a boom arm or a stand to secure and position your microphone when recording. As you shop for a stand, consider where it will be used and check its design.
RODE PSA1 Studio Arm is an excellent example of a microphone boom arm.
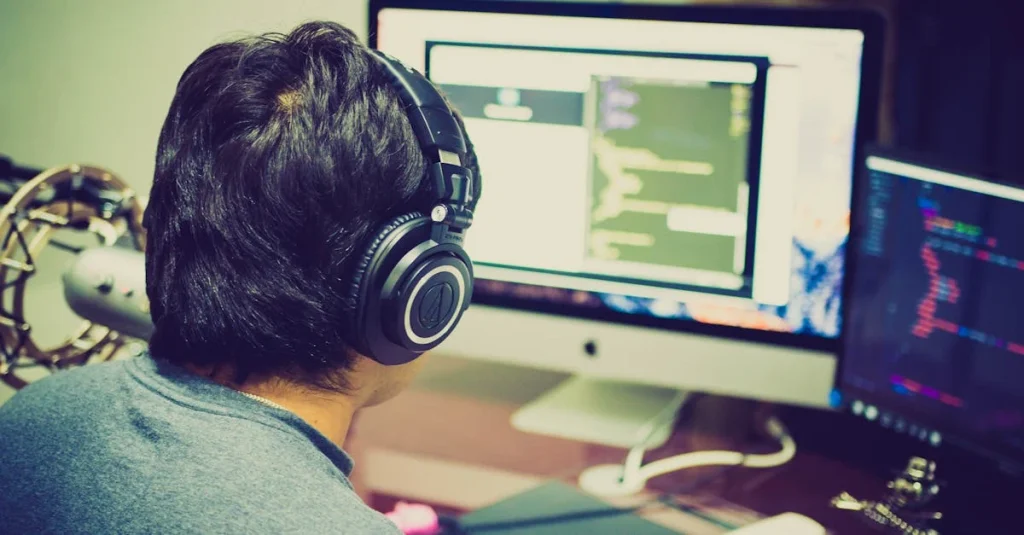
Digital Audio Workstation (DAW)
DAW software lets you record, edit, and mix audio tracks. When choosing a recording program, check for multi-track recording, editing tools, virtual mixing functionality, and automatic audio effects.
Some popular DAWs are Descript, GarageBand, Adobe Audition, and Reaper.
We’ll cover these tools in detail later in the blog.
Remote Podcast Recording Methods to Consider
If you’re wondering what the best way is to record podcasts remotely, check out the four options below:
Video Conferencing Software
Most people are familiar with video conferencing services such as Zoom, Skype, Teams, and Google Meet.
It can be a great option because:
- You can invite lots of virtual guests.
- You can record your audio content from your phone.
- It’s excellent for beginner podcasters.
- Zoom has a High Fidelity Music Mode that cancels background noise.
However, if you choose the Zoom or Skype route, don’t forget that they require a solid internet connection. So, there’s a risk of audio patches and lags. Plus, these apps compress your media, so you might not achieve high-quality recording.
The Double-Ender Method
The double-ender method lets you record video and audio on your device instead of over the internet.
Some of the perks of this method are:
- There are no internet glitches or lag because your audio is not dependent on the internet or recording software.
- You can create remote studio-quality recordings for your podcast.
- You’ll have a backup recording.
- You’ll have uncompressed audio and video files.
For the best results, you and your guests should have an external mic and headphones. You should also consider software with local recording capabilities, such as Riverside.
Audio Podcast Mixer
A podcast mixer, such as Rodecaster, is excellent for recording high-quality audio remotely. Connect your phone to the mixer and record your phone conversations.
Consider this method if you:
- Have extensive knowledge of how to make changes as you record to reduce the post-production time.
- Have a mixer and want to record in-person and your remote guests simultaneously since you’ll not hear your own voice.
- Don’t want to get any echo or feedback.
Dedicated Remote Recording Software
Dedicated remote recording software is generally the easiest method and has become a default for most podcasters. Some software options are Riverside, Audacity, Zencastr, and Alitu.
Should you use the remote podcast recording? Here are the top benefits.
- Unlike the double-ender method, there’s an easy recording setup for you and your guests.
- Ideal for high-quality video and audio.
Whichever method you’ve chosen, you’ll start remote recording in no time.
How to Record a Podcast Remotely
Let’s explain the five steps to record podcasts with remote guests:
1. Plan Your Remote Recording Setup
The first step is to podcast in these simple ways:
- Choose the remote recording method that best suits your needs.
- Develop a clear podcast script with each segment to guide your interview.
- Coordinate with your guests or co-hosts to agree on a convenient time for an online podcast recording.
- Have a backup plan in case of technical glitches or disruptions during the recording.
2. Prep Your Recording Gear
Once you’ve completed the planning phase, it’s time to set up your recording tools.
So make sure:
- You and your guest have the mics and headphones, and additional equipment like the audio mixer.
- To run tests to check your audio and video quality.
- Your recording software connects to your mics and mixer.
- You and the participants should agree on identical settings before recording, including the file format and sample rate, to retain uncompressed audio for post-production.
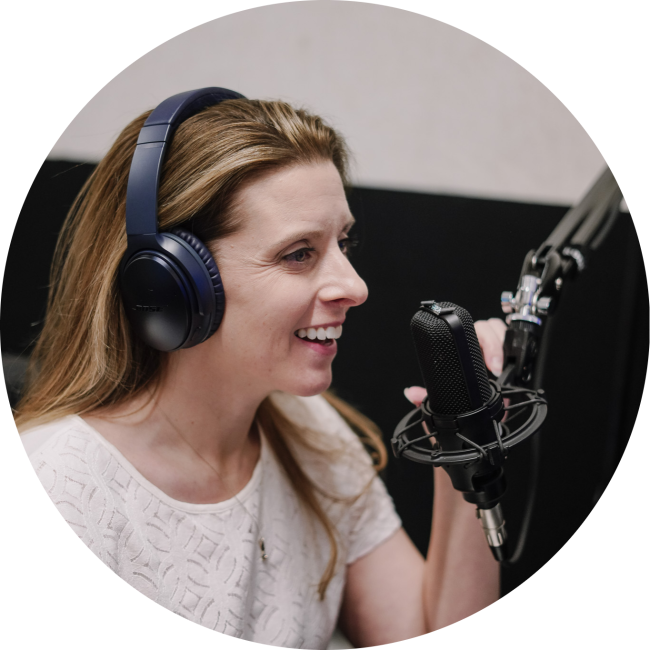
3. Hit Record
Once you’ve figured out your set-up, it’s time to start your virtual podcast.
Remember to:
- Avoid fidgeting or moving around.
- Control your breathing.
- Stay in line with your script and topic, but let the conversation flow smoothly and naturally.
- Record each of your guests on separate audio tracks.
- You should also start with a countdown and a sharp clap to sync multiple audio and video tracks in post-production.
4. Post-production
After recording and saving the files, the next stage is post-production:
- Remove filler words, delete or add words to your recording.
- Balance the audio levels of all the participants.
- Add the podcast intro and outro segments and special effects if needed.
- Set the target sample rate in your DAW and apply the loudness target.
5. Upload and Publish Your Podcasts
Finally, you’ve made it to the last step. You can upload and publish your show as a private podcast that only your listeners can access. You can easily do so with Hello Audio.
Our platform automatically creates the podcast RSS feeds for your courses, training programs, or other member-only podcasts.
Then, you can share the links with listeners so they can stream the show on their preferred apps, such as Spotify and Apple Podcasts.
So, why not book an instant demo today?
Best Software for Recording Podcasts Remotely
Picking the right remote recording software depends on your needs, whether it’s editing, local recording, or video podcasts.
Check out our list of the best software:
Hello Audio
Although it’s not a recording software, Hello Audio has redefined podcasting. Our tool lets you reuse your pre-existing video and audio files to create private podcasts.
Some of its perks include:
- Auto Publish: Publish your private podcasts automatically to Spotify, Apple Podcasts, and other major listening apps.
- Built-in Podcast Metrics: Provide detailed analytics for each episode. You can create tailored content based on each of your listeners’ behavior.
- Advanced Automation: Personalize your audience’s listening experience by adding tags and pre- and post-roll content.
For these benefits (and more), start creating podcasts with our 7-day trial, no credit card required.
2. Riverside
Riverside is an AI remote video and audio recording platform designed for creators who want high-quality video and post-production tools.
Here are some of its standout features:
- Mobile App: A mobile app for both Android and iOS users to record podcasts on the go
- AI-powered Editing: You can use a text-based editor to edit your recordings.
- Up to 4K Video: Enables high-quality remote recording and live-streaming podcasts, and lets you record separate video and audio tracks.
- Local Recording: Record video and audio offline to minimize the risk of low-quality, choppy, or glitchy content.
Pricing: Has a free plan and paid plans start at $29/month
However, compared to Descript, its editing tools are limited. Besides, the features can be overwhelming for beginners.
3. Zencastr
Zencastr is another browser-based remote recording tool on our list. It offers podcast recording, AI editing, hosting, and monetization capabilities.
Some of its highlights are:
- AI Tools: Edit audio or video like a text document. You can also transform your videos into ready-to-post clips in a single click.
- Clear Video and Audio Recording: Record up to 4K-resolution videos and 48kHz WAV audio on your desktop or mobile.
- Multi-Track Recording: Record separate audio and video tracks for all your participants, making post-production easier.
- Local Recording: Get clear, high-quality video and audio even when your internet connection fluctuates.
Pricing: Has a free plan, with paid plans starting at $30/month.
On the downside, Zencastr supports only a limited set of browsers, and it doesn’t have an Android app for podcast recording.
4. Descript
Descript integrated with Squadcast to become a one-stop remote recording tool that allows podcasters to record high-quality audio and video in the browser.
Here are some of its features:
- Local Recordings and Progressive Uploads: Recordings are done locally and are auto-saved progressively to the cloud, allowing you to retain all content and avoid losing it even in the event of technical failures.
- Studio Recordings: Supports audio and video recordings up to 4K, even if your internet glitches.
- Multitrack Editing: Integrates Descript AI features to allow text-based editing of your separate recordings.
- Auto Publish: Publish your podcasts automatically to platforms like Buzzsprout and Captivate.
Pricing: Has a free plan, and paid plans start at $24.
The downside is that there’s a steep learning curve for new podcasters.
5. Audacity
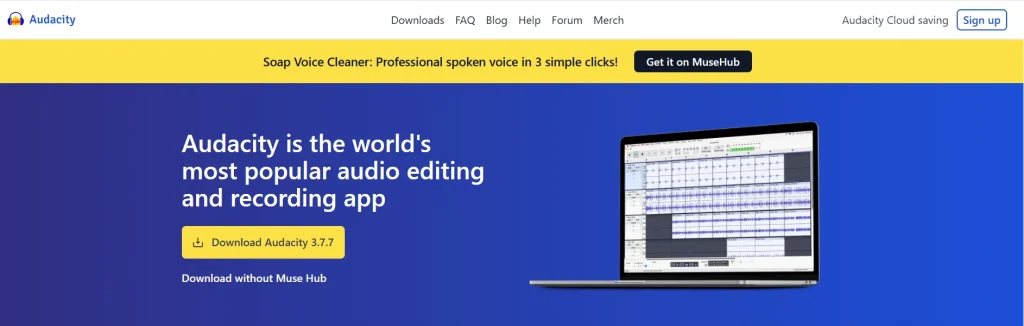
Audacity is a great free podcast recording and editing software.
Some of its features are:
- Free: Get started on recording your audio quickly, and you can edit and export right on the platform.
- Easy to Use: Start using the podcast recorder from any operating system,whether it’s Windows, macOS, or GNU/Linux.
- Multi-Track Audio Editor: Clean up and enhance your podcast with production tools such as AI transcription, reverb, and noise reduction.
Pricing: Free
On the downside, the platform doesn’t support remote recording.
6. Spreaker
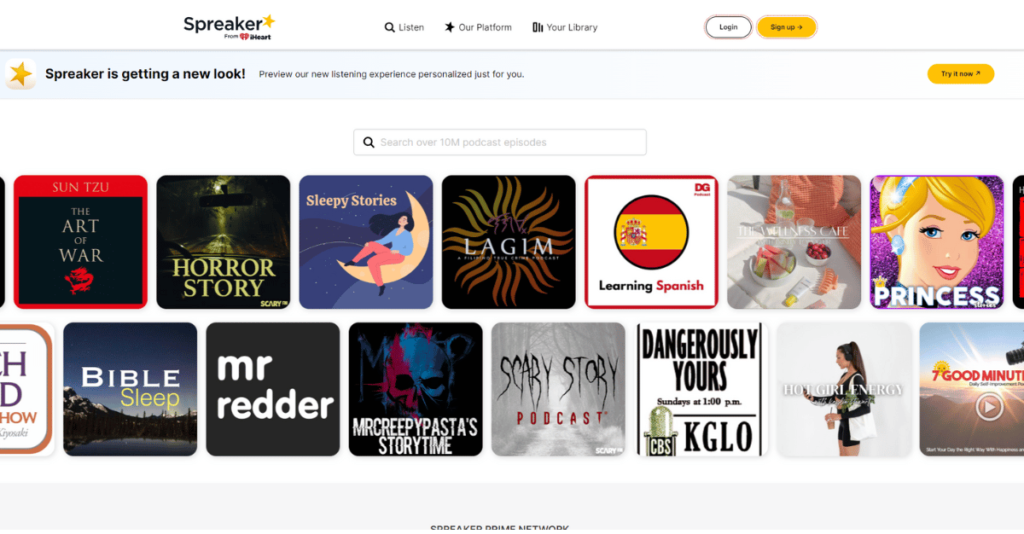
Spreaker is another podcasting tool that helps you record, host, distribute, and monetize your podcasts.
Check out how the platform helps to create podcasts:
- Recording and Editing: Record your audio on the desktop or mobile, and also access basic editing, such as adding music and sound effects.
- One Click Distribution: Publish your podcast to major directories such as Spotify, Apple Podcasts, and iHeartRadio.
- Built-in Monetization Tools: Offers multiple ways to monetize your podcasts, including ads and subscriptions.
Pricing: Has a free plan, and the paid plan starts at $20/ month.
On the downside, remote recording is only available through the Spreaker integration with Skype (or Google Hangouts). Plus, it doesn’t support video podcasts, and you’ll need to pay to transcribe audio.
Common Mistakes in Remote Podcast Recording
If you’re struggling with recording podcasts remotely, you might be making some of these mistakes:
Frequently Asked Questions (FAQs)
Do you still have questions about recording remote podcasts?
Check out our FAQ section below, where we’ve answered the common questions.
What Are the Minimum Technical Requirements for Remote Podcast Recording?
These are some of the minimal skills you need to master to get it right in remote podcasts:
- Understand the audio recording software to edit, mix, and balance audio tracks.
- Learn the mic technique and how to adjust audio levels and EQ.
- Learn podcast scripting and interviewing.
How Can You Manage Audio Files and Editing When Podcasting Remotely?
The easiest way to edit your podcasts is to use digital audio workstations (DAWs) like GGarageBand Audacity, Descript, or Alitu.
These editing programs will automatically apply effects, normalize volume levels, reduce background noise, and enhance audio.
What Are Some Tips for Synchronizing Audio Tracks in Remote Recordings?
Here are some tips for syncing audio tracks:
- Record audio on your external mic and camera to help you match the waveforms from both sources.
- Use a clapperboard or simply clap to have a mark to help you line up different tracks.
- Listen and watch for sounds like laughs and sneezes, and match up with your video.
- Place your video file right above the audio file and match the peaks.
- Consider using an editing program to auto-sync your audio and video tracks.
What is the Best Free Software for Remote Podcast Recording?
The best free podcast recording software is Audacity, which you can use on a variety of browsers, such as Windows and macOS. You can also access a variety of editing tools to polish your audio.
However, it’s a local recorder.
Can You Record a Podcast Remotely With Only a Phone?
Yes, you can record a podcast with only a phone. Modern phones have excellent built-in microphones and cameras that allow you to invite guests, record audio and video, and edit the podcast directly on the phone.
However, if you want to record high-quality podcasts without compromising quality, you should use dedicated recording software such as Riverside or Spreaker.
Learn more about how to record a podcast on an iPhone.
How Do You Reduce Background Noise in Remote Recordings?
Here are ways to reduce background noise in remote recordings:
- Set a quiet environment by closing the windows and doors and turning off appliances.
- Choose a dynamic mic and position it a few inches from your mouth.
- Use software with AI voice isolation and built-in noise suppression.
Conclusion
Our guide has covered the bases from planning to publishing remote podcasts.
It’s always a good idea to plan the podcast setup, prep your equipment, and then hit record. Once your recording is complete, you can edit, upload, and publish your podcasts.
Are you overwhelmed by the process of creating remote podcast recordings from scratch? Hello Audio is the perfect solution.
Our platform will help you experience the convenience of repurposing existing video and audio content into private podcasts.
So, why wait? Start and launch your private podcasts in minutes to maximize your reach and grow your business.