
While Zoom is a video conferencing tool, its many features make it perfect for podcasting. Plus, it’s one of the easiest methods for holding video and audio podcast interviews.
So, how can you produce studio-quality podcasts on Zoom?
Our guide takes you through 7 easy steps on how to record a podcast on Zoom. We’ve also compiled special tips for improving your Zoom’s sound quality.
TL;DR – How to Record a Podcast on Zoom
Recording a podcast on Zoom is easy. Here is a quick rundown of the 7 steps we’ll explore further in the blog.
- Install Zoom and create a new meeting
- Select your equipment
- Optimize your Zoom audio settings
- Invite guests to the meeting
- Start recording your podcast
- Download your Zoom recordings and edit them
- Publish your podcasts
That’s all there is to using Zoom for podcasts!
Remember, if these steps sound daunting, there’s an easy and quick solution to creating podcasts — Hello Audio.
Our platform lets you create high-quality and seamless private podcasts from your existing media files. Additionally, with just a click, you can transcribe, edit, and deliver your podcasts directly to your audience’s listening apps, like Spotify.
Start creating podcasts today with Hello Audio (it’s free to try!).
Why Choose Zoom for Podcast Recording
Zoom is a popular choice for podcasters for multiple reasons.
Below are the specific reasons creators lean on Zoom when they want a simple, reliable way to capture podcast episodes:
Familiar for Most Guests
Most people already know how Zoom works, so joining a call takes little to no effort. Guests can hop in through a browser link without installing anything.
Easy to Start With
The free plan gives you everything you need to test the waters. If you want cloud backups or longer meetings, upgrading is still affordable.
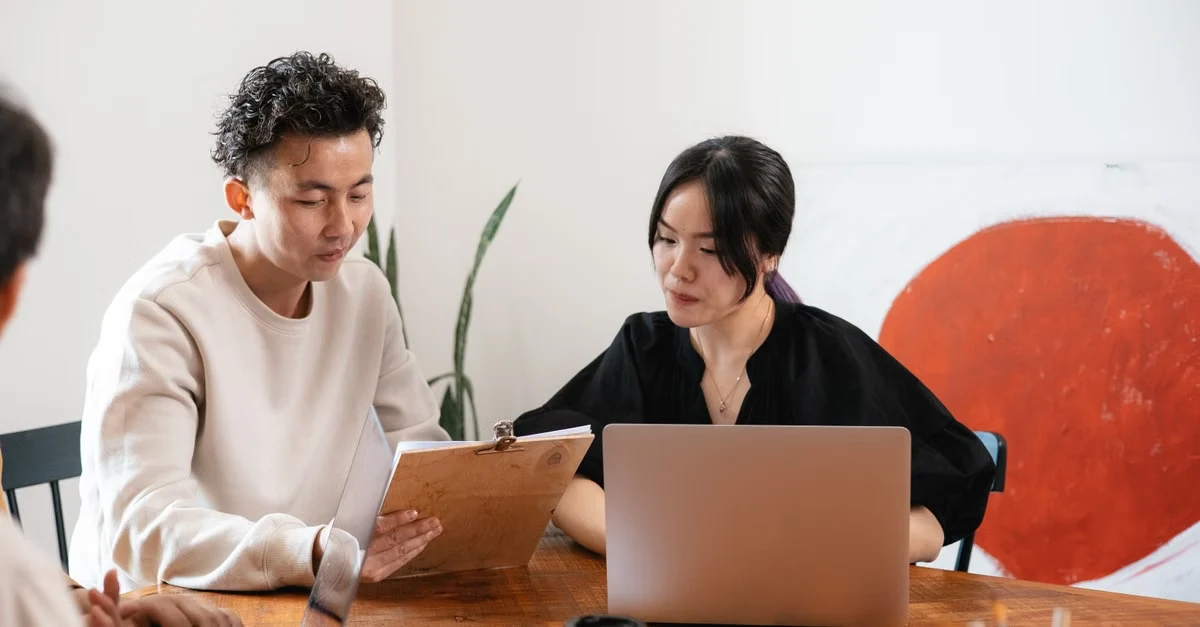
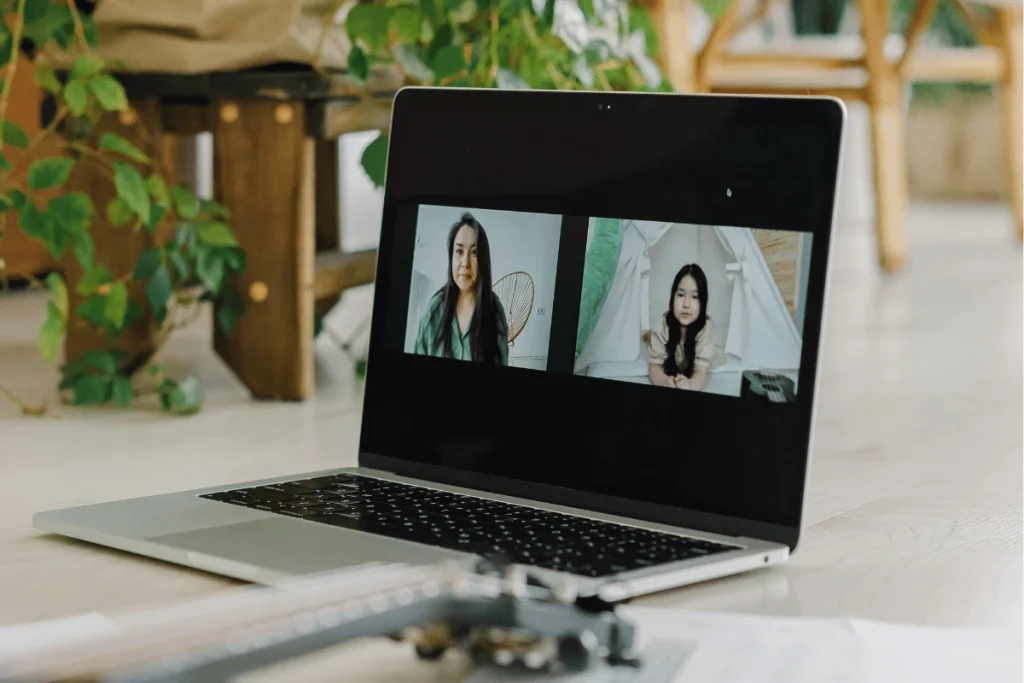
Great for Remote Interviews
You can bring in guests from anywhere in the world. No physical studio, no travel, no complicated setup.
Separate Audio Tracks
With the right settings enabled, Zoom can record each participant on their own track. This makes editing cleaner and gives you more control over background noise and volume levels.
Built-In Video Recording
Since Zoom is a video tool first, you can capture video along with your audio. That’s useful if you plan to publish clips or full episodes on YouTube.
Convenient Cloud Storage
Cloud recordings save automatically in one place, which makes it easy to share files with co-hosts or your editor.
Zoom Audio Settings for the Best Output
You can improve the quality of your video or audio with some tricks and hacks.
Under the ‘Audio Settings’ menu on Zoom and tweak the following:
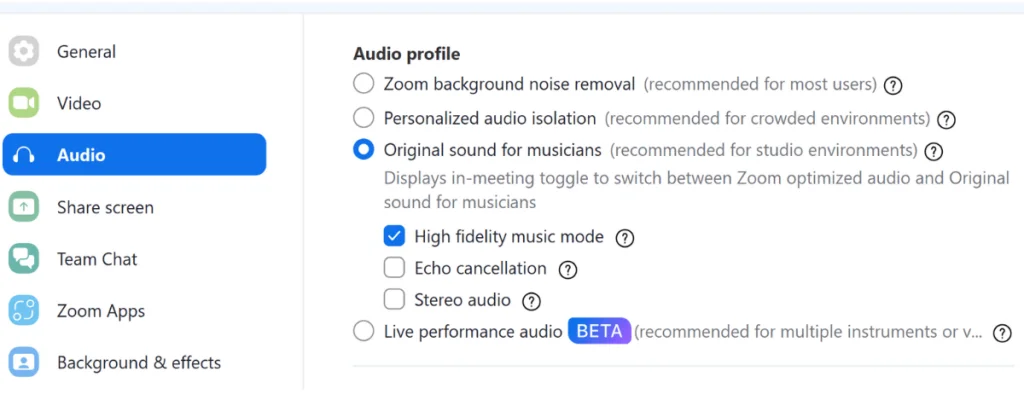
1. Turn On the Original Sound on Zoom
By default, Zoom enables its built-in noise reduction feature to cut out echo and interference. When using a high-quality mic, it’s best to turn off the native Zoom noise reduction feature.
A prompt with ‘Original Sound for Musicians’ will appear at the top of your screen during recording. You can toggle it on to keep your original audio.

This setting will enhance your audio quality during recording.
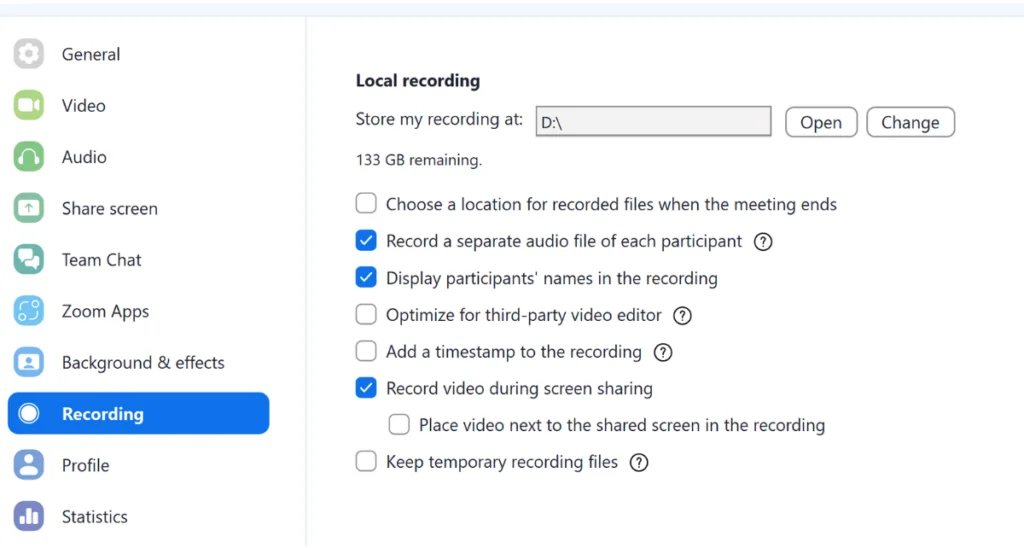
2. Record Separate Audio Tracks
Recording separate audio files for each speaker can make post-production editing easier. To do so, go to the ‘Recording’ settings and select the ‘Record a separate audio file for each participant’ option.
3. Uncheck ‘Echo Cancellation
Still, on the same ‘Audio Profile’ tab, uncheck the box next to ‘Echo Cancellation’ because your external mic has a built-in echo cancellation feature.
4. Turn On High-Fidelity Music Mode
Although this feature is specifically designed for music recording, it’s also ideal for podcasting. So, check the box next to ‘High-Fidelity Music Mode’ to produce studio-quality podcasts.
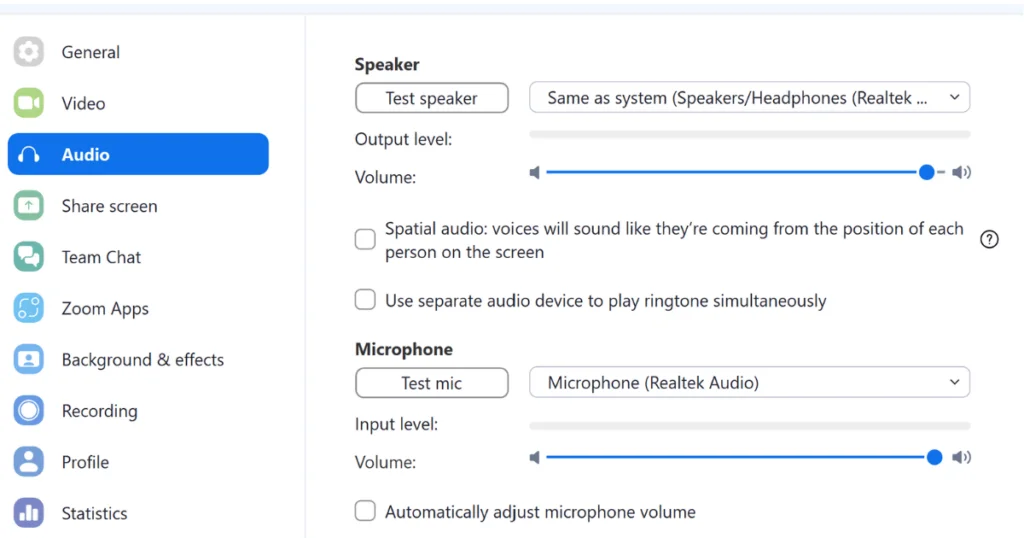
5. Adjust Your Mic’s Input and Output Volume
You can adjust your microphone’s volume if it’s too loud or low. So, head to the ‘Microphone’ tab, then move the ‘Input Volume’ slider to your preferred level.
In addition, you can adjust your guests’ volume by clicking the ‘Speaker’ tab and moving the ‘Output Volume’ slider to your desired level.
Try using these 5 tips to improve your recorded audio quality. Also, invest in simple podcasting equipment, which we shall cover in the next section.
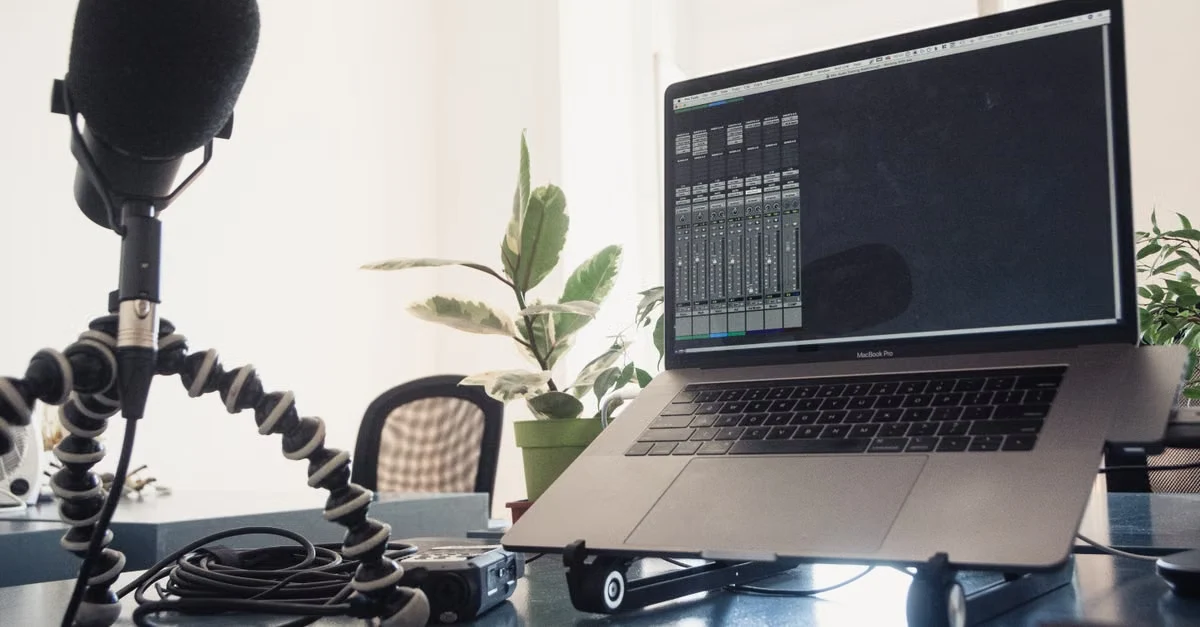
Basic Zoom Recording Equipment You Need
You might be tempted to use your phone’s and computer’s built-in speakers and microphone, but don’t!
Consider these essential recording gear to get high-end audio and video.
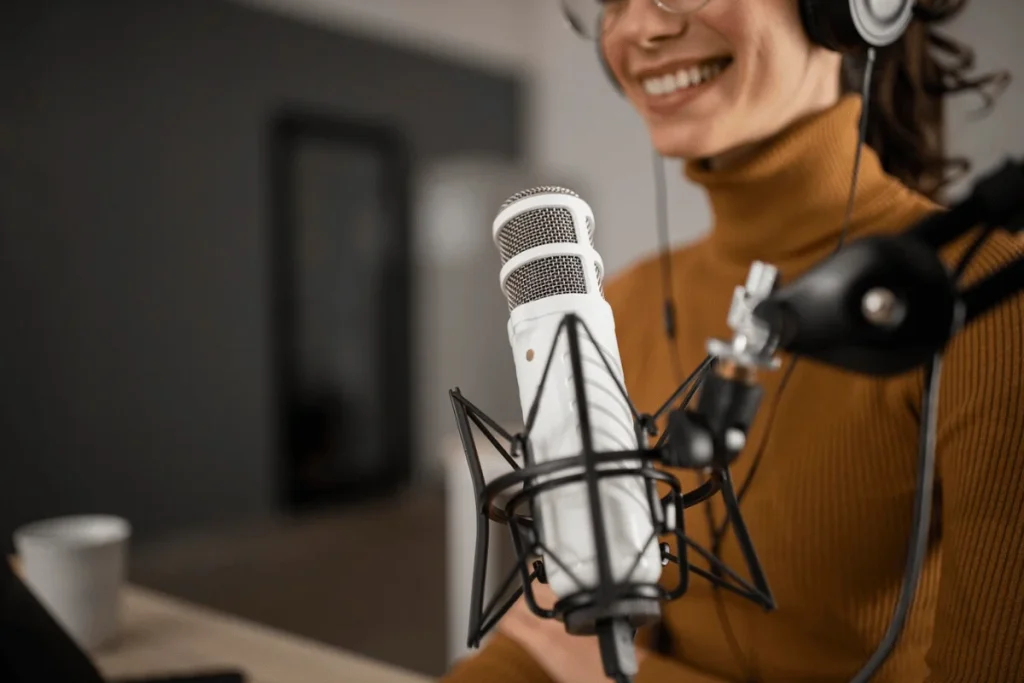
Dedicated Podcasting Mic
Investing in a dedicated podcast mic is one of the most impactful ways to improve your Zoom meeting audio.
When shopping for an external mic, consider the audio quality, compact design, noise-cancellation features, and compatibility with Zoom.
You can start your search with simple, easy-to-use USB mics like the Blue Yeti X or XLR microphones like the Shure SM58S.
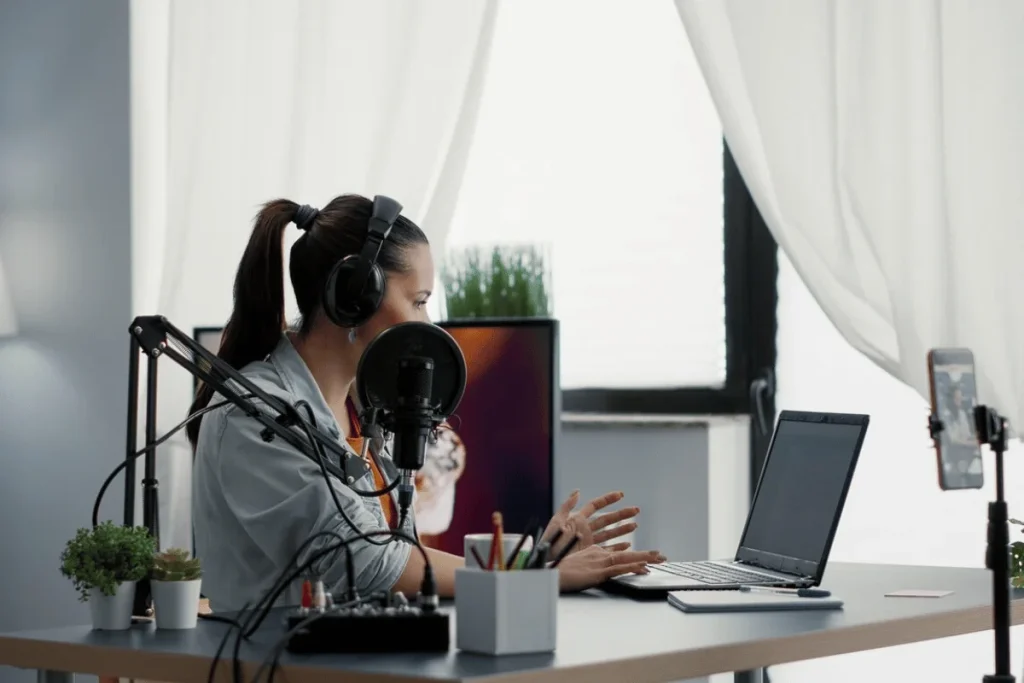
Video Conferencing Camera
You need a stand-alone webcam to capture high-quality videos. When shopping for a Zoom camera, consider features like full UHD or UHD resolution, auto-tracking, and auto-focus.
Pick standard webcams like the Nexigo 1080p HD Web Camera or the Logitech C920x HD Pro.
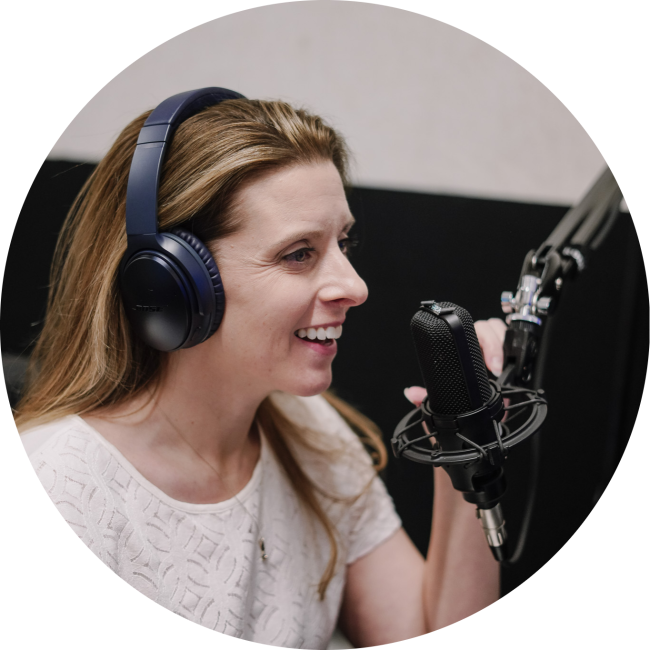
Headphones
Headphones ensure crystal-clear Zoom meetings. They also prevent your mics from picking up echoes and feedback during recording. Plus, you can monitor your sound to improve your audio levels.
Consider a pair of headphones designed for comfort that offer impressive audio quality and have noise cancellation features.
Some of the best headphones for Zoom include Audio-Technica ATH-M50x.
To improve your Zoom podcasts further, consider additional equipment like an audio interface, a mic stand, and a pop filter.
In the next section, we’ll show you how to record a podcast on Zoom.
How to Use Zoom to Record a Podcast
Do you want to use Zoom for your podcast interviews?
Follow these 7 steps to record podcasts on Zoom.
1. Install Zoom and Create a New Meeting
If you don’t have a Zoom account, create and install the free Zoom app at Zoom.us.
Remember, the basic tier limits your call to 40 minutes. So, if you plan to host longer recordings, upgrade to the higher plans.
Once you’ve set up your Zoom account, select ‘New Meeting.’
Some other basic prepping tips to do in this stage include:
- Settle for a good time and date for you and your attendees
- Plug your device directly into the router for a stable internet connection
- Brief your guests about the podcast questions
2. Select Your Equipment
Although Zoom allows you to use its built-in mics, it prompts you to select your external mic and camera. So, open the Zoom settings and choose your video and audio equipment.
Check your sound quality from here by selecting ‘Test Speaker and Microphone.’
3. Optimize Your Zoom Audio Settings
You can adjust some Zoom settings to produce high-quality audio.
To recap what we discussed above, open the ‘Audio Settings’ tab then:
- Enable ‘Original Sound’
- Check the ‘Record a separate audio file for each participant.’
- Uncheck the ‘Echo Cancellation’
- Turn on ‘High-Fidelity Music Mode’
- Adjust Your Mic’s Input and Output Volume
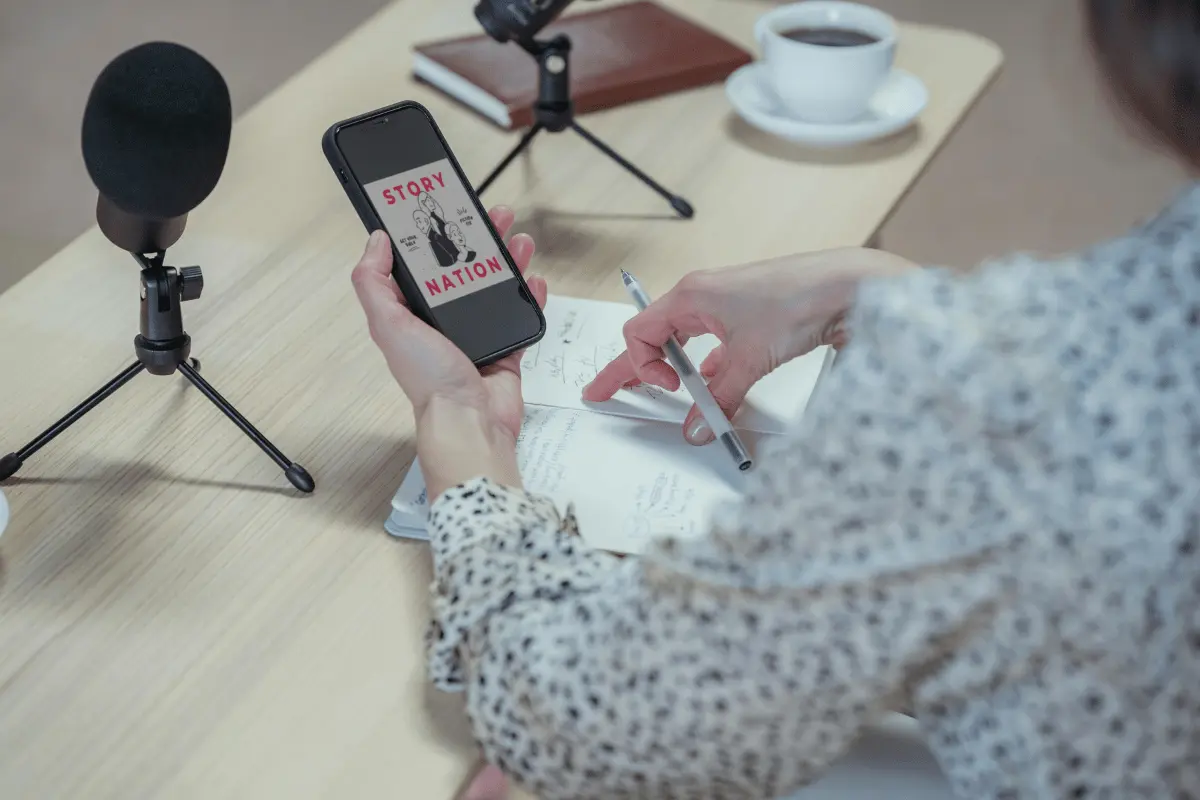
4. Invite Guests to the Meeting
Zoom lets you invite guests to your call through these two ways:
- Press ‘Copy Invite Link’ and send it to your guests so they can join the meeting with a click.
- Go to the Participants tab and click ‘Invite.’
Remember, you can also create a scheduled recording by selecting ‘Schedule.’ Then, send the attendees the link.
Alternatively, set the meeting for a later date directly from Google Calendar or Zoom for Google Workspace add-on.
5. Start Recording Your Podcast
Once your guests have joined your Zoom meeting, hit the ‘Record’ button. Remember, if you’re on the basic tier, you’ll only have 40 minutes to record.
Keep your conversation free-flowing and natural. When you are ready to end the meeting, click ‘Stop Recording.’
6. Download Your Zoom Recordings and Edit them
Once you’re done recording, Zoom will prompt you to save one M4A audio file for each separate track and an MP4 video file.
Plenty of editing software, like Audacity, Adobe Audition, and Garageband, are available for editing podcasts. You can download your recordings, upload them to your program, and polish them.
7. Publish Your Podcasts
The last step is to publish your recordings. If you want to host and distribute your podcasts to your exclusive audience, use Hello Audio.
It automatically generates podcast RSS feeds and distributes your private podcasts on streaming platforms like Spotify, Apple, and Google Podcasts.
You can then grant access and share the podcast links with your listeners.
If you’re ready, start our free trial today — no credit card required.
Common Challenges and How to Avoid Them
Recording on Zoom is simple, but a few issues can get in the way of clean, professional audio.
Here are the most common problems podcasters run into and how to sidestep them:
Background Noise and Echo
This usually pops up when someone uses a built-in laptop mic or records in a room with bare walls. Ask guests to use headphones and plug in an external mic.
A quieter space with soft surfaces will cut most of the echo.
Unstable Internet Connection
A weak connection can cause audio dropouts or awkward delays.
Plug your device directly into your router when possible, and remind guests to close other bandwidth-heavy apps.
Guests with Inconsistent Audio Levels
Some voices come in too loud, others too soft.
Do a quick mic check before recording and adjust input levels in Zoom’s audio settings so everyone starts at a balanced volume.
Low-Quality Built-In Mics
If a guest doesn’t have a dedicated microphone, even a basic USB mic is a noticeable upgrade.
At a minimum, encourage them to avoid using their computer’s default mic.
Forgetting to Enable Key Settings
Missing options like Original Sound, multi-track recording, or High-Fidelity Music Mode can hurt your final audio.
Make it a habit to check these before every session.
Accidental Background Interruptions
Notifications, phone buzzes, and door knocks can derail an episode. Ask guests to silence devices, turn off alerts, and let anyone around them know they’re recording.

Best Practices for High-Quality Zoom Podcast Recordings
To overcome the above challenges and ensure your Zoom recordings sound clean and consistent, a little prep goes a long way.
These simple practices help you avoid the most common issues podcasters run into on calls:
- Run a quick equipment check: Before you hit Record, make sure Zoom is actually using your external mic and headphones. Test the mic input and speaker output so you don’t spend an entire interview talking into the laptop mic by accident.
- Pick a quiet recording space: Choose a room with soft surfaces, fewer echoes, and minimal outside noise. Even with the best mic and Zoom settings, a noisy environment will slip into the recording.
- Ask guests to prepare their setup: Share a short checklist ahead of time: use headphones, sit somewhere quiet, close unused apps, and keep their mic close. A little guidance prevents issues you can’t fix later.
- Use a stable internet connection: Plug in with an Ethernet cable if possible. It keeps the conversation smooth and reduces audio artifacts that show up when the connection dips.
- Record separate audio tracks: Separate tracks make editing far easier. You can fix background noise, level changes, and interruptions without affecting the other voices.
- Turn on original sound: If you’re using an external mic, ‘Original Sound’ keeps Zoom from aggressively filtering or compressing your audio. It preserves the natural tone of your voice.
- Keep your levels consistent: Watch your mic input level during the call. If it peaks or dips too much, adjust it in Zoom so the final file is easier to edit.
- Limit multitasking during the call: Heavy apps running in the background can cause lag or fan noise. Close anything you don’t need to keep your system quiet and responsive.

Pros and Cons of Using Zoom to Record a Podcast
While Zoom is an easy choice, you should weigh its pros and cons for podcast recording.
Here’s a breakdown below:
Overall, Zoom is not a dedicated podcast recording software.
So, if you’re unhappy with the disadvantages we’ve listed above, check out our pick for the best Zoom alternatives in the next section.
Top Zoom Alternatives for Podcasters
Are you tired of Zoom limitations like the 40-minute call limit or the low video quality?
Check out our picks for the best Zoom alternatives.
Hello Audio
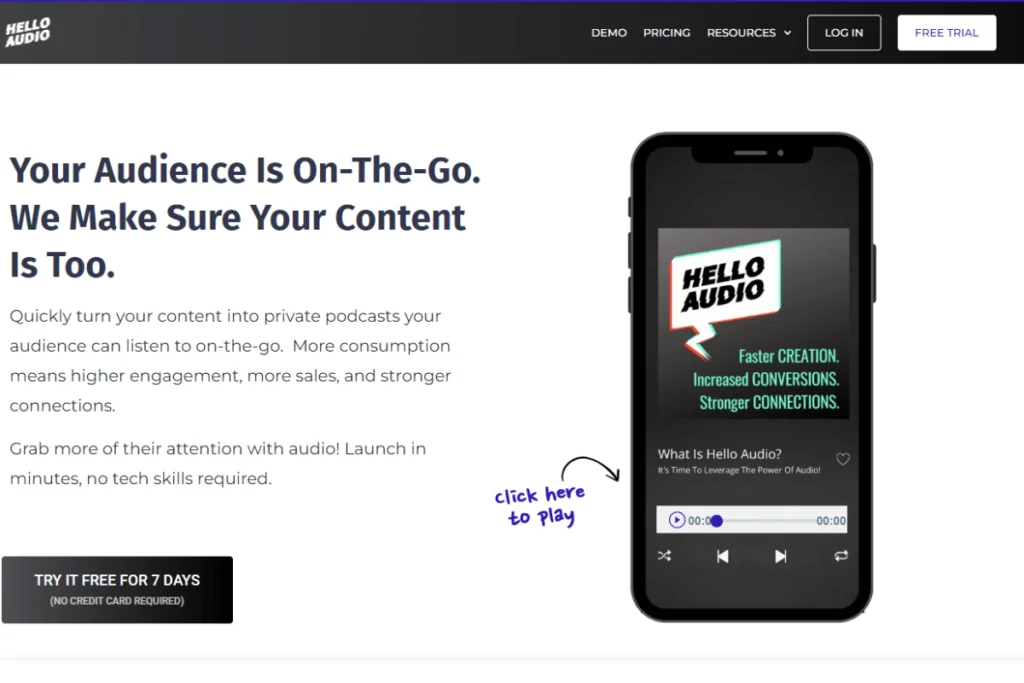
If you’re looking for a private podcast platform, Hello Audio should be your top pick.
Here’s why:
- Lets you convert video and audio files, including TikTok videos, meeting recordings, and courses, into private podcasts.
- Delivers your podcast directly to your preferred listening app like Overcast, Podcast Addict, and Apple Podcasts.
- Guarantees outstanding podcasts.
- Integrations with other tools like Zapier, ActiveCampaign, ConvertKit, and more.
Watch our instant demo and see how Hello Audio works.
SquadCast
SquadCast is another podcasting tool you can use instead of Zoom. Its free plan supports 1080 remote recordings. Additionally, if you or your guests have an internet disconnection, SquadCast has a Progressive Uploads feature to capture recordings until that point.
As you’ve seen, you can find a suitable Zoom alternative that is perfect for podcasting.
Frequently Asked Questions (FAQs)
Do you still have questions about how to record a podcast over Zoom?
Here are the answers to two common questions.
Can You Edit a Zoom Recording?
Absolutely yes!
You can edit a recorded Zoom meeting using the pre-loaded editing tools in the Zoom app. Alternatively, download the recording and upload it to an editing program like Audacy to make the edits.
Generally, Zoom editing involves adding logos and captions, cleaning up the audio and video, and trimming and enhancing the recordings.
How Can I Convert Zoom Audio to WAV Files?
Some editing software like Audacity can help you convert Zoom M4A audio to WAV files.
A quick reminder — you can upload MP3, M4A, MP4, M4V, MOV, AVI, and WAV files with Hello Audio. The files will be converted to MP3 and automatically delivered to your listeners.
Can You Record Separate Audio Tracks for Each Speaker on Zoom?
Yes. Zoom lets you record each participant on their own audio track, but you need to enable it first.
Go to Settings → Recording and check the option for separate audio files. It makes editing much easier.
How Many People Can Record in a Zoom Podcast Session?
A Zoom podcast session follows the same participant limits as a regular Zoom meeting. The free plan allows up to 100 people; Business bumps that to 300; and Enterprise goes up to 500 participants, with the option to expand further with add-ons.
That’s more than enough for most podcast setups, though keep in mind that every extra voice adds more noise and more editing work.
What’s the Ideal Zoom Bitrate for Podcast Recording?
Zoom doesn’t let you set a manual bitrate, but you can improve the audio quality by turning on High-Fidelity Music Mode. When this is enabled, Zoom bumps the audio codec quality up to 48 kHz and roughly 96 kbps for mono or 192 kbps for stereo.
That’s the highest-quality audio Zoom can produce, and it’s the closest you’ll get to a natural, studio-like sound inside the app.
Conclusion
To record Zoom podcast interviews, create a new Zoom meeting. Then, select your video and audio equipment and adjust your Zoom settings.
From here, you can invite your attendees and start recording your podcast. Lastly, edit and publish your podcasts.
While creating podcasts using Zoom is possible, consider Hello Audio to create and distribute private feeds on listening apps.
Our platform lets you turn your preexisting video and audio content into private podcasts. Plus, you won’t have to figure out how to record podcasts on Zoom.
Try Hello Audio today for free and experience a simple, powerful, and fun way to create podcasts.