
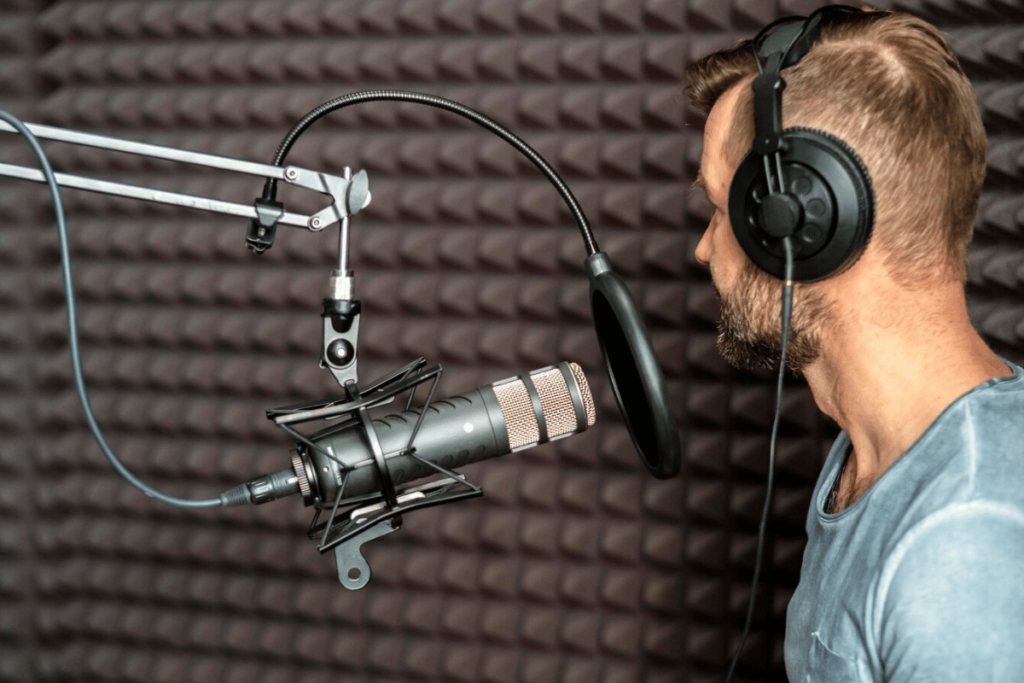
Audio is crucial to audience engagement today. Ensuring its clarity becomes more necessary when that is the only medium you have to convey your message.
However, no matter how much you try, your audio recording is expected to have some background noise or disturbance. Hence, professionals often rely on post-production to fine-tune their recordings and produce perfect audio.
In this blog, we will discuss how to clean up your audio recording conveniently without professional assistance.
TL;DR – How to Clean Up a Voice Recording
To successfully clean up a voice recording, you must carefully listen to the frequencies.
You can use tools like Descript and Auphonic on desktop and Dolby On on mobile to remove background noise effectively.
However, you also need to keep the best practices of audio cleaning in mind while doing so.
We discuss the same below while highlighting the common mistakes one can make during audio cleaning.
After cleaning up the audio, it can be a great content asset for you to increase your reach. For instance, if you want to build a closely-knit community of followers, you can launch a private podcast with us. Sign up for Hello Audio to launch your private podcast in minutes with zero technical skills!

Why is it Necessary to Clean Up Audio Recordings?
It is important to clean up your audio as it can:
- Remove the continuous background disturbance like a hum or hiss without compromising audio clarity.
- Click, pop, and other mouth noises are eliminated without audible artifacts.
- Replace damaged sections of the audio with seamless patches.
- It can repair audio, digital, and analog clipping with extreme precision.
Hence, you should always clean up an audio file after recording it to ensure immaculate sound quality.
How Does Poor Audio Quality Affect User Experience?
Cleaning up audio has the following benefits:
- It will increase the intelligibility of the dialogues in a track.
- Improves the overall experience of a musical performance.
- Clear audio tracks are easier to combine than those with noise.
- It ensures the audience pays attention to the main audio.
Overall, cleaning up audio ensures the audience only hears what you want them to pay attention to. It elevates the complete listening experience and provides your audio with a professional touch. Moreover, if the quality of the audio is good, you can straight away repurpose them into private podcasts as well.
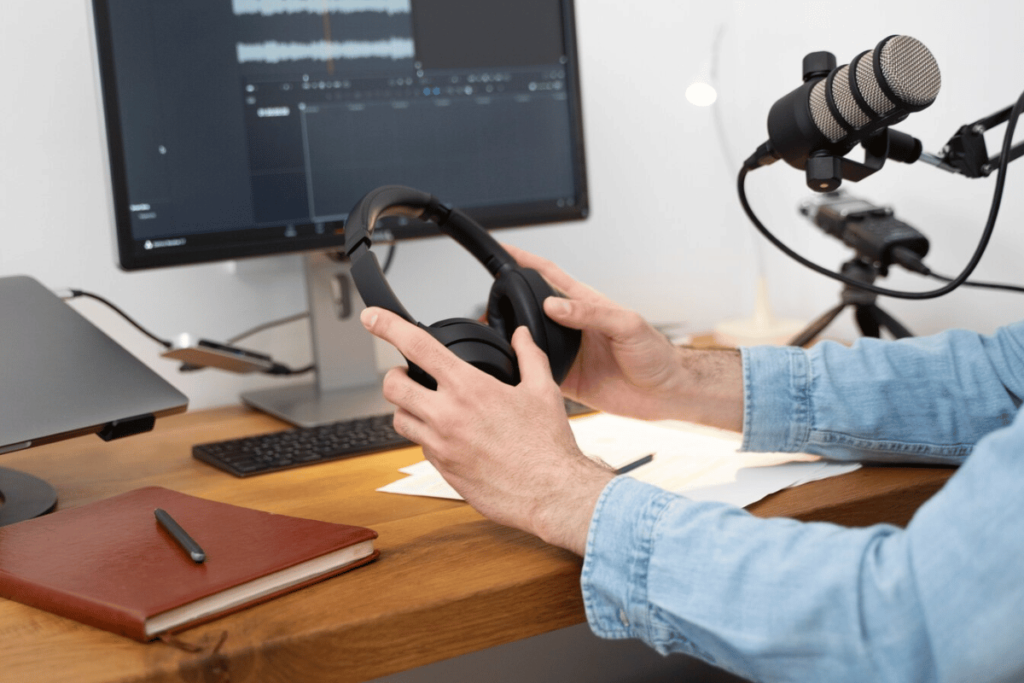
How to Clean Up an Audio Recording
There are numerous tools available to clean up an audio file. However, based on their overall performance, we found these to be the most effective.
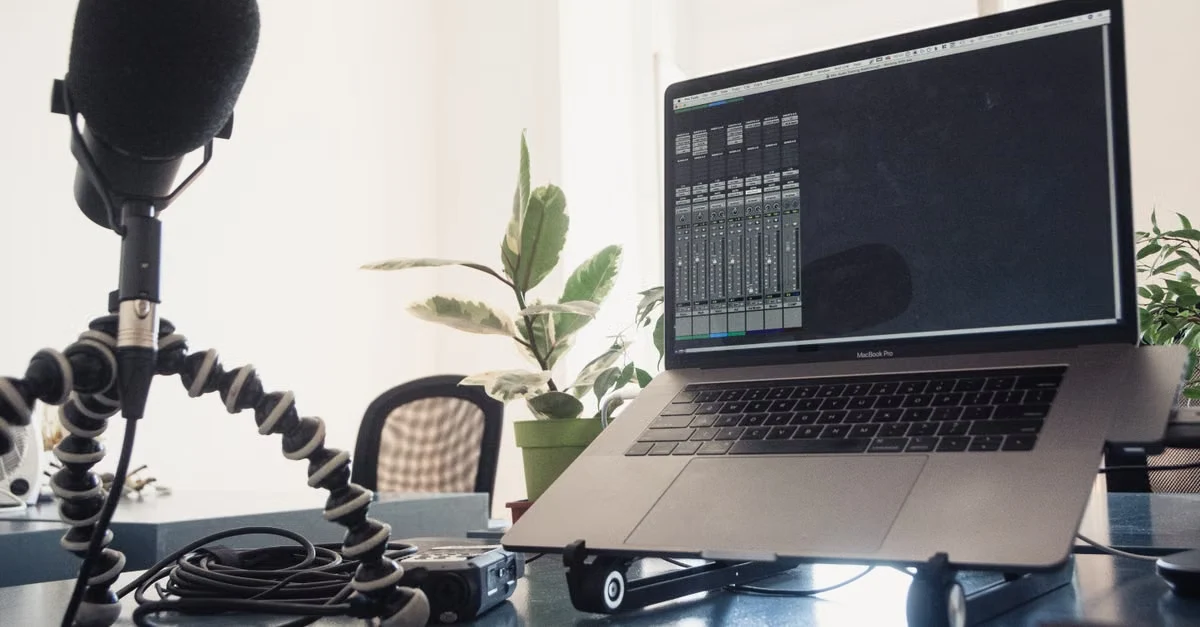
On Desktop
Descript
Descript offers basic effects to be added to projects. Click “Add effect” on the right side and select “Compressor”. The default settings are probably fine. Play your audio to hear the difference.
You can click the three dots to bring up a menu of other presets. They’re added in real time, so you can hear the difference as you change the settings.
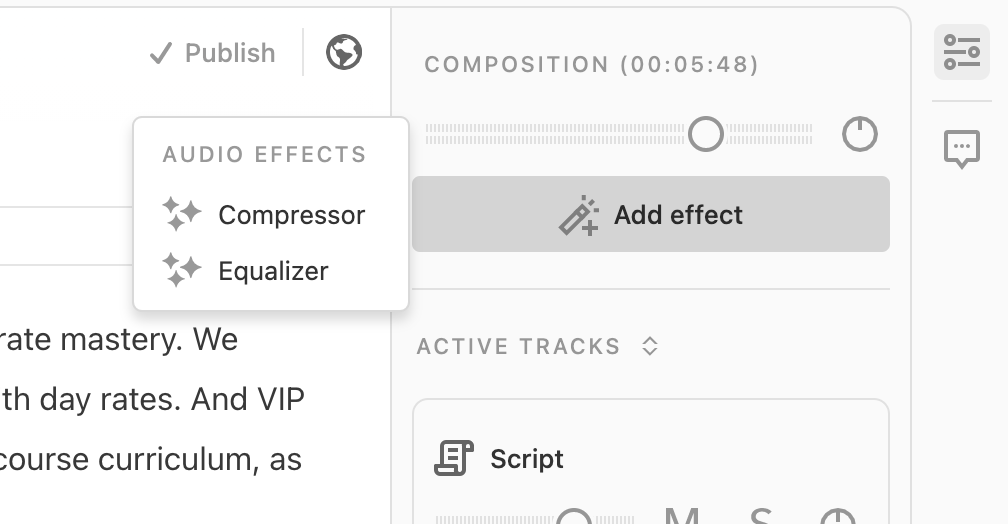
You can also disable the effect to compare to the unaltered audio.
When you’re finished, you can export directly to a Hello Audio feed from within Descript.
Auphonic
Auphonic is a popular browser-based tool that performs audio cleanup. Create an account (2 hours of audio free per month) and start a new project. Upload your file and head to the bottom of the long list of settings. Check the boxes for what you’d like them to process (all 4 are fine), then start the production.
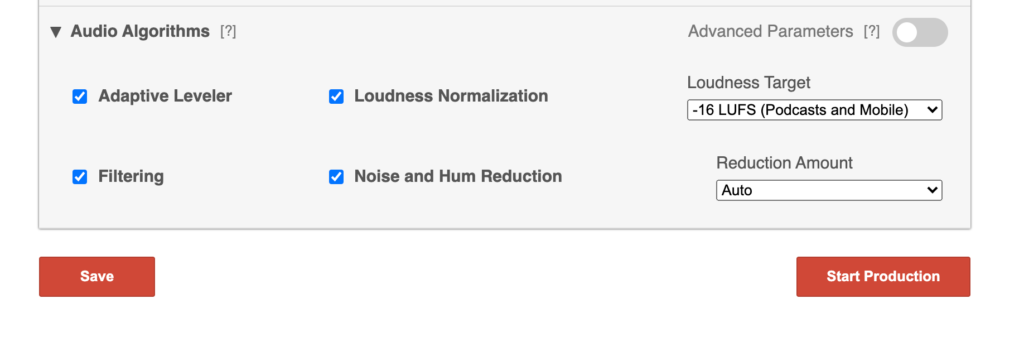
When it’s finished, click Download to access the cleaned-up file.
Note that Auphonic is incredibly powerful with many audio editing options. Feel free to play around with all their tools. Also, paid accounts can bulk-process many files at once.
On Mobile
Dolby On
Dolby created a great free app on both iOS and Android called Dolby On (download from Apple App Store, Google Play Store).
Open the app and click the import icon at the top-right if it’s not already in the list of files. Then, you can record and publish your audio content from your phone.
Click on the recording and make sure the switch is flipped right to turn “Dolby On”. You can preview the sound while flipping the switch to compare the two.
If you’d like to dig into the settings, you can click Tools on the bottom and fiddle around with the details. You can pick a “Style”, adjust noise reduction, the tone, boost the audio, and trim the ends. Once you’re finished, hit Done.
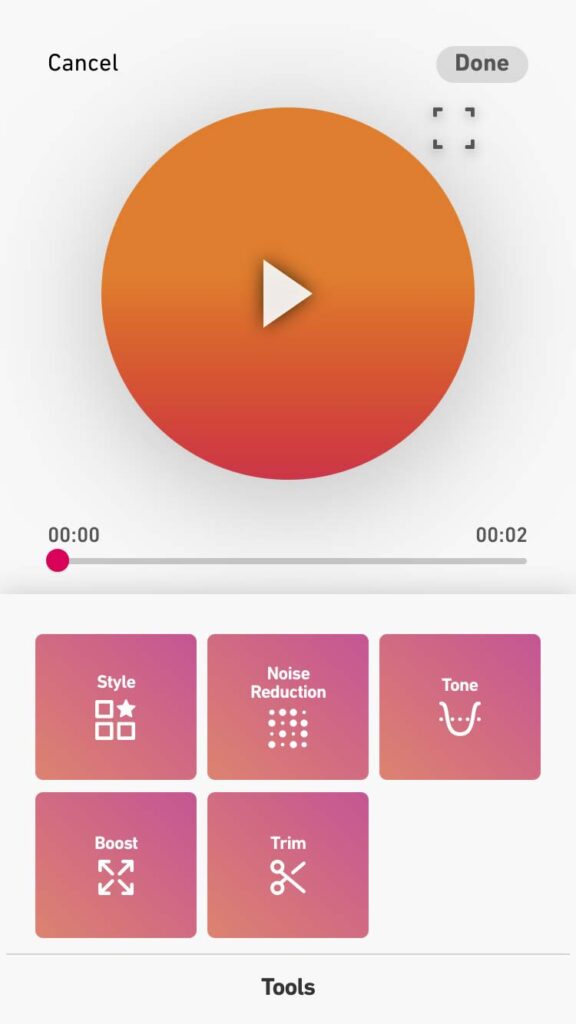
You can also use this app to create animated visuals of your audio.
When you’re ready, hit the share/export button and select More Audio Apps, then Save to Files or choose an app like Google Drive or Dropbox.
From there, you’re ready to publish your clean audio in your Hello Audio feed!
Further Reading:
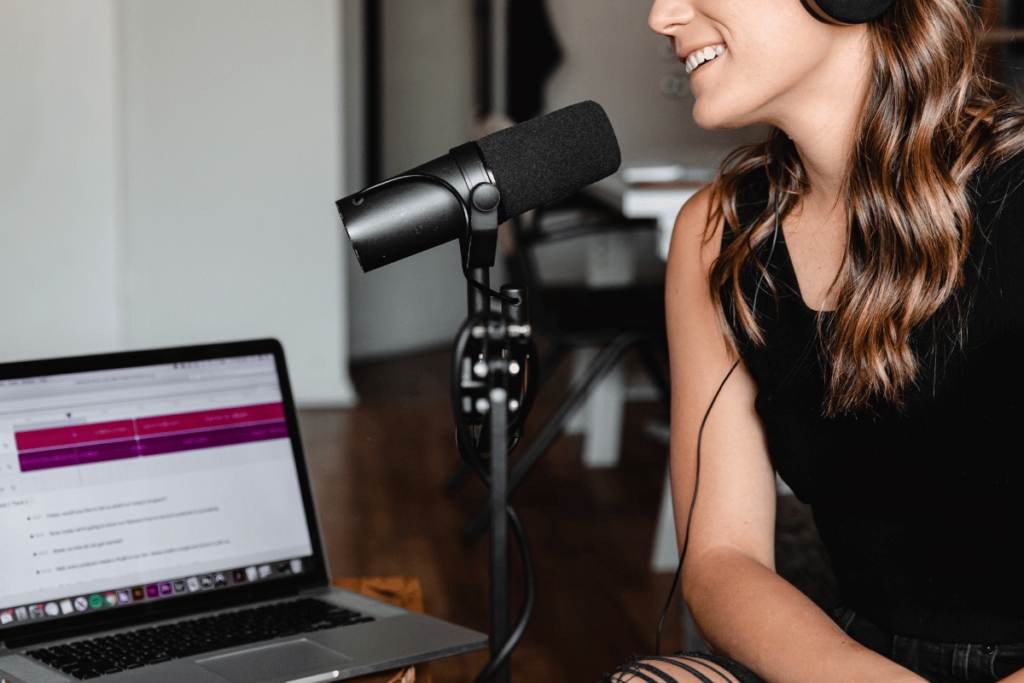
How to Clean Up Audio From a Phone Recording
Recording and publishing audio content from your phone is no easy feat. Although phone mics have improved tremendously, they are nothing compared to a professional recording setup.
Hence, you must take specific steps to clean a phone recording:
Consideration of EQ and Dynamic
You cannot “add back in” frequencies that the phone did not record. Remember this while applying EQ, as a phone’s mic might not pick up upper and lower frequencies like a professional mic.
Try to check which frequencies you do not like in the audio and only reduce them to get a more appealing sound.
Then, you can use a dynamic plugin to increase the volume. However, as the audio is already compressed, try to be very careful with dynamic leveling.
Using the Right Tool
Since all the tweaking will take place in the software, you need to use one with all the required options.
Depending on your device, you can use any of the abovementioned tools to edit and conveniently make your desired changes.
Putting it Together
Once you are done with the basic level cleaning, you will have to work on it further to get a crystal clear recording. For this, you need to treat the phone recording like any other audio you would record in a studio.
These finishing touches are what create the biggest difference, and you should take your time to do those.
How to Enhance Background Noise in a Recording
You can enhance the background noise in a recording in various ways. Some of these are:
1. Using an Ambiance Generator
There are ambient plugins available that can generate ambient soundscapes like rain, crowds, wind, etc.
2. Through Creative Processing
You can also emphasize certain frequencies through EQ adjustments and subtle EQ.
3. Layering Additional Sounds
Layering is another effective method of emphasizing background sound. Numerous free resources are available online for background sounds that you can use to layer on top of the existing audio and create your desired result.
However, if your needs are a bit complicated and specific, we suggest you consult a sound engineer.
Common Audio Recording Issues Where Cleaning is a Must
While you might choose to ignore hard-to-edit audio anomalies, you must clean the following issues at any cost.
Background Noise
These are the bussing, humming, or hissing sounds you hear continuously playing along throughout your recording. One cannot pay complete attention to your recording if you do not edit the background out of your audio.
Distortions and Artifacts
If you overload your microphone’s input, your recording will have substantial distortion.
You can hear sounds like clipping if you exceed the recording capabilities of your recording device. These noticeable distortions are also sometimes known as artifacts.
Echo and Reverb Effects
Both echo and reverb can occur if you are not recording in a professional studio. These are sounds that have reflected on a hard surface (usually walls). Professional studios have walls covered in materials that absorb sound, preventing this from happening.
Clicks, Pops, and Glitches
Such sounds can occur for many reasons, from an issue in the recording device to an interruption during the recording. Irrespective of their origin, these sounds interrupt the flow of a sound recording, diminishing its overall effect on its audience.
If you do not clean up your voice recording and keep such issues intact, your audio might not perform as expected.

Best Practices for Cleaning Up Audio Recordings
Cleaning up audio might become extremely complicated if you do not do it a certain way. You can follow the best practices mentioned below to ensure a smooth cleaning process:
Listening to the Audio Closely
Listen closely and note the issues you wish to remove. This helps in making the editing process significantly easier.
Keeping a Backup
Cleaning up the voice recording might not always go the way you want it to. Having a backup will ensure you have endless chances of cleaning the audio.
Familiarizing with the Audio
Once you get familiar with the audio, you will know exactly where to cut, fade, add layers, etc., in the recording.
Starting Subtle
To avoid multiple cleaning sessions, you should never go heavy-handed with the editing. Start subtly and slowly make changes to the audio.
Targeting Particular Frequencies
Different types of noise occupy different frequencies. By using tools that let you edit particular frequencies, you can better clean the audio without affecting the primary sound.
Once the audio is clean, you can upload it to Hello Audio to repurpose it as private podcasts and increase the reach of your content! Book an instant demo to see how we can help you.
Apart from the best practices, you also need to ensure you are not making the mistakes most people make while cleaning audio for the first time.

Common Mistakes to Avoid When Cleaning Up Audio
Just like any skill, editing audio also takes some time to master. However, without proper knowledge, you are also susceptible to making mistakes that are easily avoidable.
These common mistakes are:
Applying Too Much Noise Reduction
Going overboard with this can suck the life out of your audio and make it sound bland.
Not Considering the Varying Noise Levels
Just like the primary audio, a recording’s background noise also has varying levels. Hence, you should keep these changes in mind while cleaning the audio instead of applying noise reduction to the entire audio at once.
Neglecting Spectral Editing
With its help, you can visually remove unwanted noise events like cough, sneeze, etc. If you try to edit such events out with tools, the outcome might not be ideal.
Not Referencing Other Audio Tracks
By referencing similar audio recordings, you can compare your cleaned-up track to those finished versions. This will help you understand if your audio sounds natural or not.
Rushing the Cleaning Process
Proper audio cleaning requires excessive concentration. Rushing the process will only lead to you making too many errors.
Forgetting Normalization and Leveling
The audio levels between different speakers in your audio might sound unnatural after the cleaning-up process. Hence, you should level those up and normalize the audio.
Ignoring the Music in Your Audio
If your recording contains music, you need to take extra care to ensure it does not lose its rhythm or musicality as you clean the audio.
Keep these in mind while you clean an audio file, and you will have a smooth editing experience. The result of your hard work will also be far superior.
Frequently Asked Questions (FAQs)
These are the answers to some of your frequently asked questions.
How Can I Remove Background Noise From a Voice Recording?
Numerous tools available in the market let you instantly remove background noise from your voice recording.
However, if you are looking for something more critical, you can use tools like Descript, Dolby On, or Auphonic to make it clearer.
How Much Can Audio Quality Be Improved in Post-Production?
You can tremendously change the audio quality of a recording in post-production. However, too much editing can make the audio sound unnatural if not done correctly.
Conclusion
If you want to create a positive impression on your target audience, producing crystal-clear audio is necessary. However, the process of doing the same is critical and requires extreme concentration.
Use this article as a guide and clean your voice recordings without any issues. You can then use those tracks to impress your target audience and further improve your brand value. How? You can publish it as a private podcast using Hello Audio.
Private podcasts are a great way to increase your audience base and can even help you reach visually impaired people. If you want to simplify the process of launching your podcast and speed it up, sign up for our 7-day free trial and check our effectiveness firsthand.