
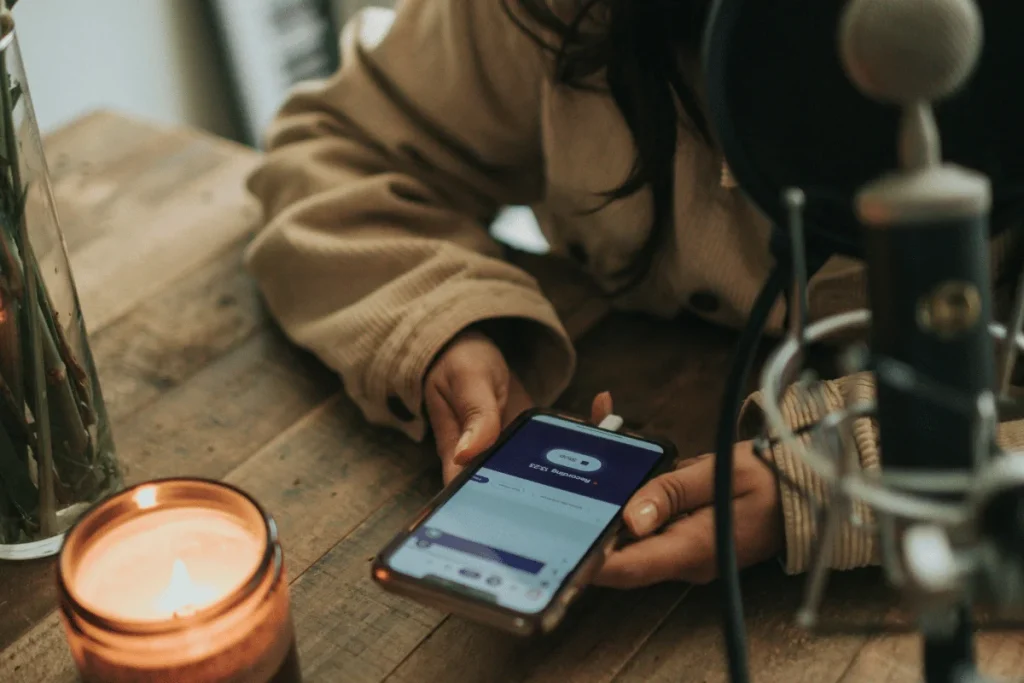
Whether you want to record your podcast on the go or don’t want an expensive studio setup, your iPhone can make it easier to pursue your podcasting dreams.
Our step-by-step guide on how to record a podcast on an iPhone is the perfect place to start. We’ll also cover the essential iPhone podcast gear, iOS podcast recording apps, and bonus tips.
Let’s dive straight in.
TL;DR – How to Record a Podcast on an iPhone
Starting a podcast on an iPhone and feeling overwhelmed?
Let’s break the process into these 6 steps.
- Plan your podcast episodes
- Choose your recording app
- Set up your recording space
- Pick your recording method
- Start creating your podcast
- Edit and upload your podcast
More on this later in the blog.
After you’ve created your podcast on your iPhone, what next? Hello Audio lets you create private podcast feeds that your listeners can access from their phones.
Try it for free and launch your custom audio feeds in minutes.
Can I Record A Podcast On My iPhone?
Absolutely yes!
If you want to become a podcaster without investing in an expensive setup, your iPhone will do the job. You only need an iPhone, a recording app, and simple podcasting equipment to record a podcast.
We’ll go into this in more detail in the next sections.
Who Should Use an iPhone for Podcast Recording?
An iPhone makes the most sense for creators who want to keep things simple and flexible, without getting pulled into a fully controlled studio setup.
Here’s who can benefit the most from using an iPhone for podcast recording:
- Beginners: If you’re new to podcasting, an iPhone is the easiest way to begin. Because of the iPhone, you don’t have to invest in any expensive gear or learn about complex software right away. You can focus on building your content first.
- On-the-go creators: Whether you’re traveling, commuting, or recording outside a traditional setup, your iPhone lets you capture ideas anytime, anywhere.
- Solo podcasters and small teams: If you’re recording alone or with just one or two guests, then an iPhone setup is the most convenient option. With the right app and mic, you can still achieve great audio quality.
- Coaches and educators: If you’re repurposing content into private podcasts or sharing audio lessons, recording on your iPhone is quick and efficient. You can record, edit, and publish without switching devices.
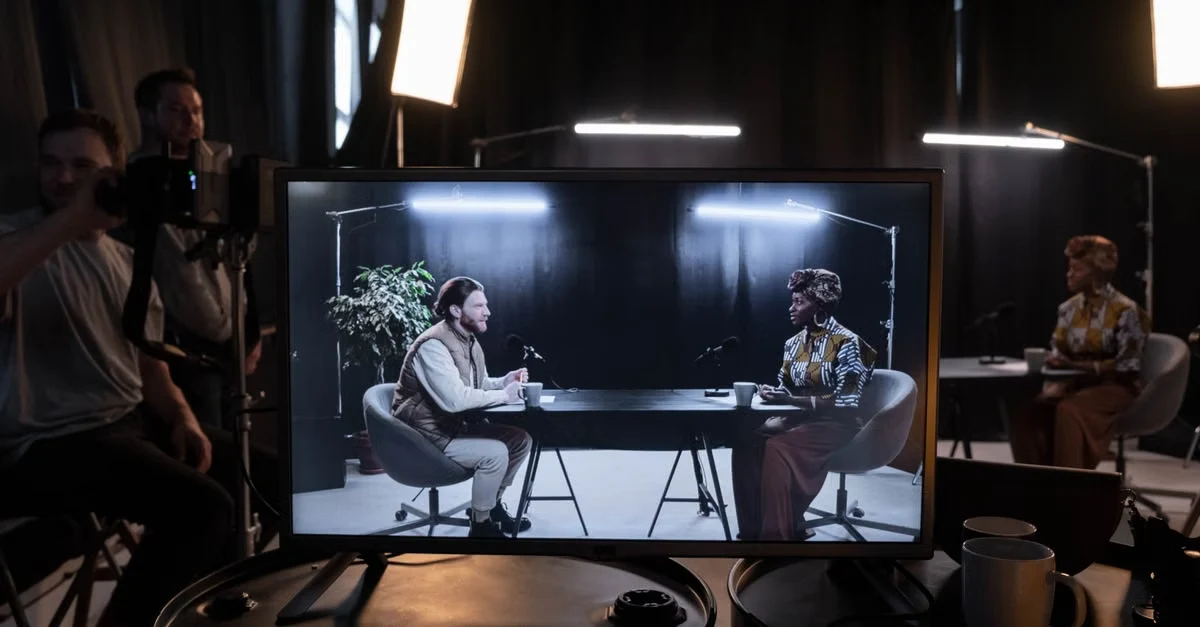
- Video podcasters: If you’re recording video podcasts for YouTube or social media, an iPhone can double as a high-quality camera, letting you capture both audio and video without extra gear.
Why Use an iPhone for Podcast Recording
If you’re wondering whether an iPhone is actually a good choice for podcasting, the answer is simple: it’s one of the most convenient ways to get started.
Here’s why many creators choose to record podcasts on their iPhone:
Portability
One of the biggest advantages you’ll enjoy while using an iPhone is how easy it is to carry around. You can record from anywhere, either from your home, a quiet café, or even while traveling, without setting up bulky equipment.
Smartphones are designed for mobility, making them ideal for on-the-go recording.
High-Quality Audio and Video
Modern iPhones come with advanced microphones and support high-quality audio recording. When paired with an external mic, you can achieve near-studio-level sound.
Plus, you can also record video podcasts in HD or 4K, making your content suitable for platforms like YouTube and Spotify.
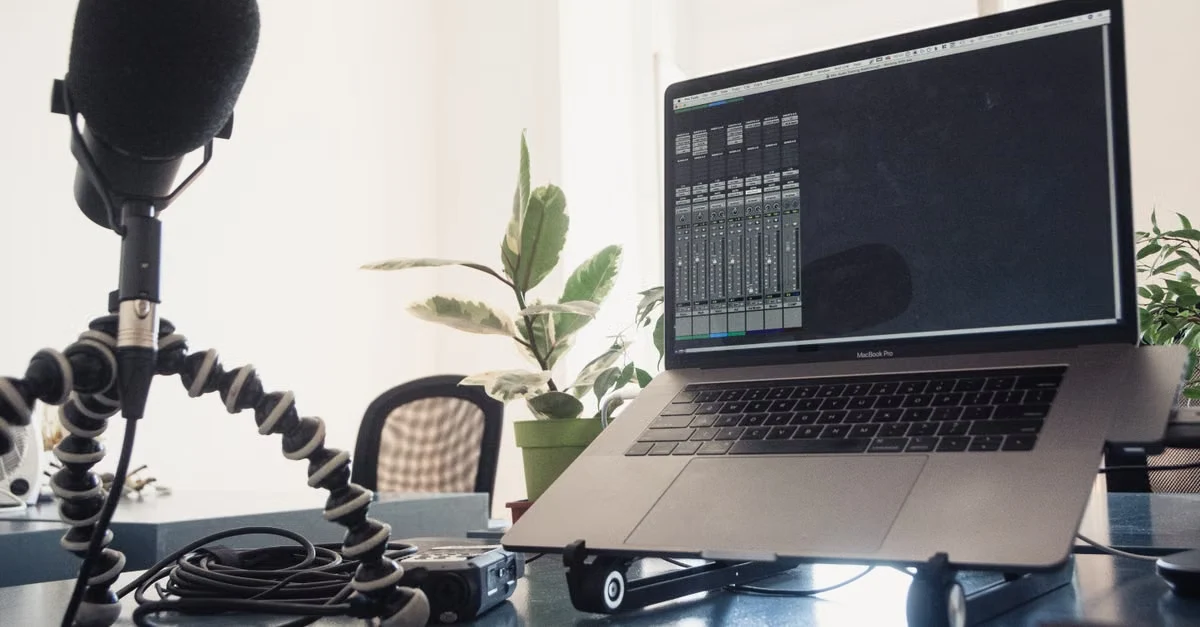
All-in-One Workflow
With an iPhone, you can handle everything in one place, be it recording, editing, or publishing.
There are a number of iOS apps that let you trim audio, add effects, and upload episodes directly, so you don’t have to switch between multiple devices or tools.
Reliable Performance and Consistency
iPhones are known for stable performance and consistent audio processing, which matters during recording.
You’re less likely to encounter random glitches, app crashes, or audio issues mid-session, making your recording process more reliable.
Essential iPhone Podcast Equipment for Recording
You might not know where to start with so many recording tools available. But don’t worry!
We’ll take you through the 4 must-have items for your iPhone podcast setup.
1. iPhone
You’ll need an iPhone, obviously. You can start with whatever iPhone you currently own. However, if you’ve had it for a while, you can also upgrade to a latest model.
An up-to-date iPhone has high-quality built-in mics with noise-reduction features to pick clear audio. Plus, you can record an HD video podcast on your iPhone.
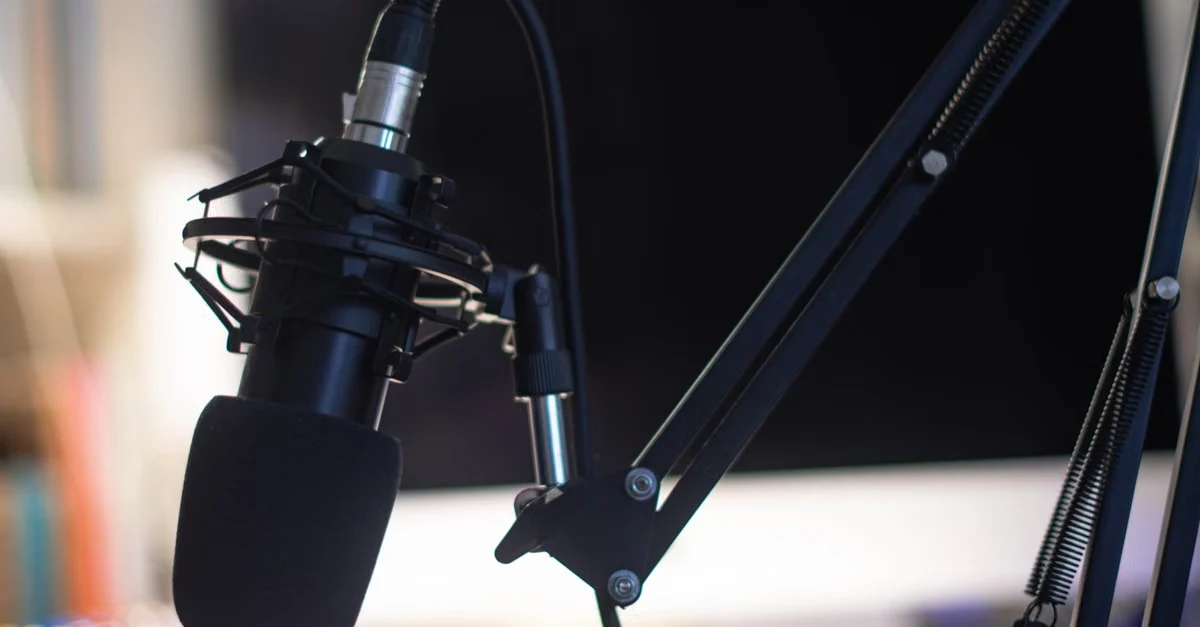
2. External Microphone(s)
You can level your audio quality with an external mic tailored to your iPhone.
Remember, though, that you might need an adapter to plug in your headphones and mics on your phone and use them together. An example of a suitable adapter is the Rode AI-Micro.
With that in mind, your microphone should:
- Connect seamlessly with your iPhone model via a 3.5mm jack, lightning port, or wirelessly.
- Be travel-friendly, durable, and easy to set up, yet deliver high-quality audio to allow you to podcast on the go.
- Capture audio from all directions, suppress background noises, and produce a clear sound.
Just to mention a few, here are some iPhone microphones to consider — Shure MV 88 and Rode VideoMic Me-L.
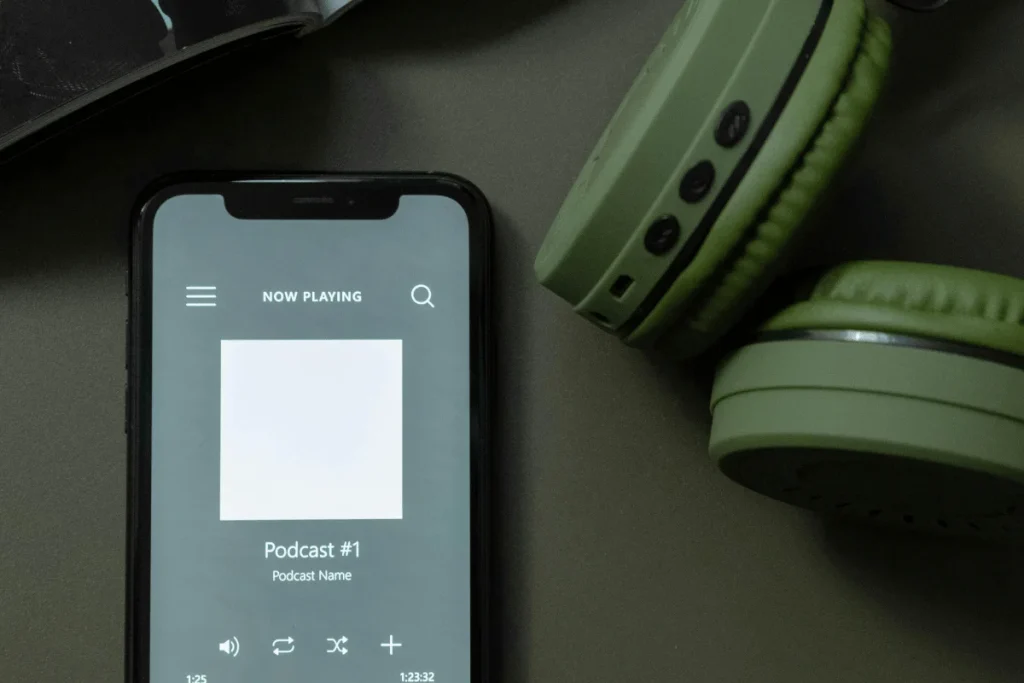
3. Headphones
You (and your guests) should always wear headphones to hear the audio, adjust sound levels, and monitor external noise as you record.
Headphones also prevent echo and audio bleed, which are unwanted sounds your microphone picks up from other mics.
Before you get a pair, look for headphones that:
- Are lightweight with padded cushions and an adjustable fit to provide comfort for long recording sessions
- Come with sound isolation capabilities to block out outside noise like traffic and fan
- Are compact and foldable, ideal for travel
- Have less audio delay.
Some solid headphone choices include Audio-Technica BPHS1 and Shure SRH940.
4. Podcast Recording App
Although you can use the pre-installed ‘Voice Memos’ app on your iPhone, you can opt for podcast-specific apps on the App Store.
Your recording app should possess these qualities:
- User-friendly dashboard that you can easily navigate.
- All-in-one recording and editing capabilities so you don’t have to install multiple apps.
- Remote podcast recording and the ability for multiple guests to join.
- Mobile app to record on the go.
- Support for local recording instead of recording everyone over the internet.
- Various recording video quality, including HD and 4K.
Keep reading as we explore the best iOS recording apps in the next section.
Best Podcast Recording Apps for iPhone
Not all podcast apps are created equal.
Speaking of which, if your aim is to build a community, you should use Hello Audio to repurpose your existing content into engaging private podcasts.
Book an instant demo to see how easy it is to repurpose existing content into private podcasts.
While you do that, let’s introduce our list of the 3 best podcast recorders and their key features.
1. Spotify for Podcasters
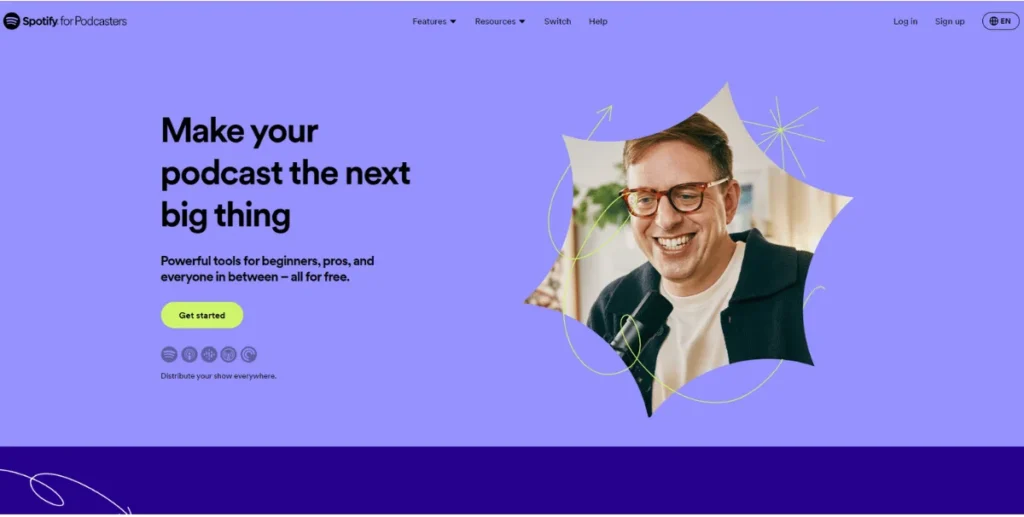
Rebranded from Anchor, Spotify for Podcasters is a popular platform where podcasters create and share content.
Let’s look at some positives and negatives of this app.
Pros
- Free to use and ideal if you have limited knowledge of creating and managing podcasts.
- Easily record, edit, and distribute your content on various platforms like Spotify, Google Podcasts, Apple Podcasts, and more.
- Add tracks, effects, and transitions to your recordings.
- Lets you host unlimited episodes.
- Record with remote guests.
- Makes it easy to monetize the podcasts.
Cons
On the flip side, Spotify for Podcasters:
- Has poor recording tools.
- Lacks in-app editing and video recording features.
- Spotify takes a cut of the ad revenue.
- Solo and group recordings can’t exceed two hours.
- No ownership rights to your content.
2. GarageBand
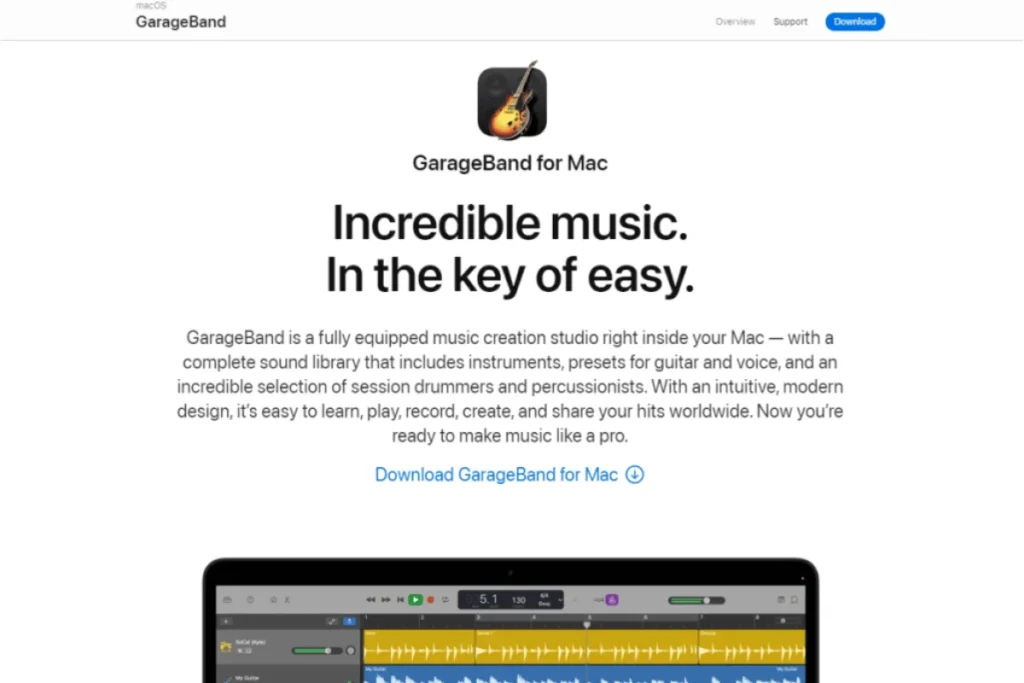
Similar to Spotify for Podcasters, GarageBand is free. It’s only available on iOS devices, including iPhones.
Here are the top features and downsides of GarageBand.
Pros
- Allows multi-track recording (record each guest on their own track).
- Has built-in editing functions to trim audio, arrange audio clips, mix tracks, and add music.
- Simple and user-friendly interface compared to some apps like Audacity.
- Supports MIDI recording.
- Ability to redo or undo your edits.
Cons
- Doesn’t support remote and video recording.
- Has limited advanced features and is not ideal as professional podcast recording software.
3. Audacity
Audacity is free, open-source, and compatible with all operating systems, including Windows, Linux, iOS, and more.
That being said, here’s what the app has to offer.
Pros
- Record live with your mic.
- Great for pro podcasters.
- Provides high-quality audio, including 16-bit, 24-bit, and 32-bit.
Cons
- Lack of a multitrack recording feature.
- Doesn’t support video and remote recording.
- Doesn’t support MIDI recording.
5 Tips For Podcasting With an iPhone
Before you jump into recording podcasts from your iPhone, let’s discuss some tips to follow:
- Test-check the recording app: Test the app to ensure you capture audio and use it correctly. Also, check the audio levels before recording.
- Mount your phone: Keep your iPhone shake-free to avoid your mic picking up vibrations or movements.
- Place your mic correctly: Position your microphone 2 to 8 inches away from your face and ensure your phone is pointed at your mouth to improve your audio quality.
- Recharge your phone, batteries, and equipment: This is necessary to avoid anything cutting off during your session.
- Keep your voice audible and natural: You must speak slowly, pause, and shift the tone to add expression. Plus, use a conversational tone so your listeners can understand and relate to you.
As we wrap up, don’t forget to put these tips into practice. The next section will cover how to do a podcast on an iPhone.
How to Record a Podcast on iPhone in 6 Steps
Wondering how to create a podcast on iPhone?
Produce a studio-quality podcast with these 6 simple steps.
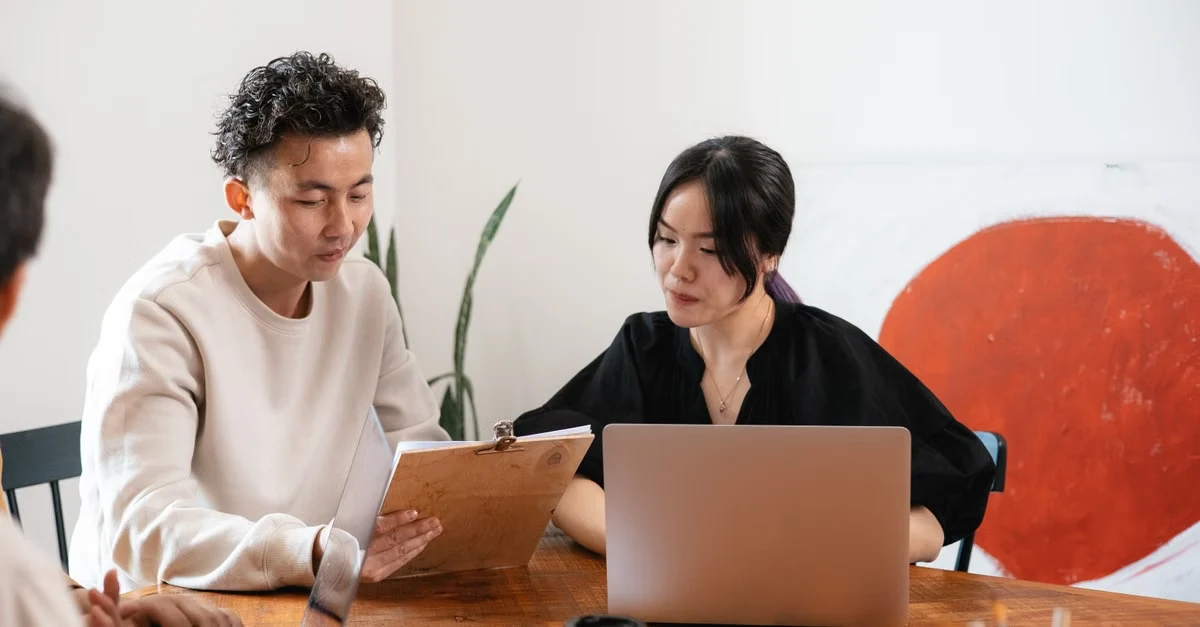
1. Plan Your Podcast Episodes
While you may enjoy recording impromptu, you should plan ahead to make sure your podcast runs smoothly.
Here’s what to do in the preparation stage:
- Generate fresh podcast ideas to keep your audience engaged.
- Plan your podcast script ahead of time.
- Consider the length and duration of the episode.
- Prepare interview questions and create pointers for discussion for guests to appear on the show.
2. Choose Your Recording App
Recording on your iPhone requires downloading an iOS podcasting app. As discussed above, some recording apps like GarageBand double as editing apps.
Once installed, make sure:
- Your iOS recording software is up and running.
- Check if your microphones and headphones are seamlessly connected to the app.
- Do an app test to make sure everything is working.
3. Set Up Your Recording Space
Your next step is to set up your basic recording equipment — iPhone, headphones, microphones, and stands.
Keep these pointers in mind:
- Find a quiet place with minimal disturbances and noise. Still, you can soundproof the recording environment.
- Place your mic at least 2 to 8 inches from your mouth to achieve good-quality audio.
- Experiment with all your equipment to find what angles work best for your setup.
With these items in place, you’re ready to start podcasting.
4. Pick Your Recording Method
Try to pick a recording method that suits your situation.
You can either choose:
- In-person Recordings: If you are recording a live podcast, you can use recording software or record your podcasts locally without an internet connection.
- Remote Recording: Your guests can click a button to join the call online from their devices. Use conferencing apps like Zoom or Google Meet to record remote and video interviews.
Remember to send your participants guidelines for recording.
Alternatively, use a remote podcast recording app like Spotify for Podcasters to capture high-quality audio of your guests in different locations.
5. Start Creating Your Podcast
Once you’re settled in, you can start recording your podcast.
Here are some things to do during the recording session:
- Monitor your volume levels.
- Make sure to take breaks throughout the recording.
- Try to stay still and avoid moving things around.
- Mute your mic when your guest is speaking.
6. Edit and Upload Your Podcast
Once you’re done recording, you can start fine-tuning the episode tracks on the app.
Follow these steps to edit your podcast:
- Choose apps that allow you to record and edit podcasts.
- Add effects, improve the audio, or move sections around.
- Edit out unnecessary words and extended pauses.
- Elevate your episodes by adding podcast intros, outros, transitions, and music.
- Lastly, don’t over-edit your recording.
When your files are ready, upload them to popular listening platforms like Spotify, Apple Podcasts, Overcast, and more.
Note that some recording apps can also automatically publish your content from your phone.
As you’ve seen, recording a podcast is as simple as that!
Common Mistakes When You Record a Podcast on iPhone
While recording a podcast on your iPhone is simple, there are still a few mistakes that might affect your audio quality and overall listening experience.
Common mistakes include:
- Using Bluetooth audio: While AirPods or other Bluetooth devices can easily connect to an iPhone, they can compress the audio and also introduce latency. That will make your podcast sound less natural or lower in quality. Use a wired external microphone whenever possible or use an external microphone consistently.
- Recording in the wrong file format across apps: The apps you use on iPhone save audio in different formats, which can lead to issues like mismatched files or quality loss when you start editing. That’s why you need to choose a file format like WAV or AAC, and stick with it throughout the podcasting project.
- Not managing iCloud sync for large files: If iCloud backup or sync is running in the background, it can slow down performance or create confusion about where your files are stored, especially with larger audio/video recordings. Check your storage and file location before recording, and move important files right after.
Frequently Asked Questions (FAQs)
Still have questions?
Here are the answers to some FAQs about how to make a podcast on an iPhone:
Can You Edit a Podcast Directly on Your iPhone?
Yes, you can make basic edits to your podcast directly on your iPhone. Mobile recorder apps like GarageBand have built-in editing features to use on your iPhone.
Are There Any Limitations to Recording Podcasts on an iPhone?
Yes, there can be limitations to recording podcasts on an iPhone.
First, there’s limited storage on your iPhone. Second, you might need additional tools like headphones and an external microphone to record studio-quality sound.
How Can I Optimize iPhone Settings for Clearer Podcast Audio?
Here are simple settings you can do to optimize your iPhone recordings:
- Go to settings and turn your phone’s noise cancellation on to reduce background noise.
- Access your iPhone’s control center to mute your phone or turn on airplane mode to avoid the mic picking up incoming vibrations.
- If you’re using the Voice Memos app on your iPhone, go to settings to turn on ‘Lossless’ and toggle on ‘Enhance Recordings,’ which improves audio recorded in Voice Memos.
How Do You Transfer Podcast Audio From iPhone to Computer?
Here are a few simple ways to do it:
- Use AirDrop to send files wirelessly to a Mac.
- Upload your recording to iCloud Drive and access it on your computer.
- Then connect your iPhone to your computer with a USB cable, and transfer files using Finder or iTunes.
- Upload all the files to your Google Drive or Dropbox and download them later.
Conclusion
Now that you know how to make a podcast with an iPhone, it’s time to get to work.
Start by planning your podcast episodes and picking your recording app. Then, set up your recording environment and choose your recording method. Lastly, create, edit, and upload your podcast.
Remember, you don’t have to create your podcast from scratch.
With Hello Audio, you can turn your best audio or video content into private podcasts in minutes.
Plus, Hello Audio offers automation features like tags, pre- and post-roll content, and detailed listener analytics to help you harness the power of podcasts.
Try it for free today to connect with your audience on the go, generate quality leads, and build your brand.